How Can We Help?
Search for answers or browse our knowledge base.
Create and Approve Pre-Bill
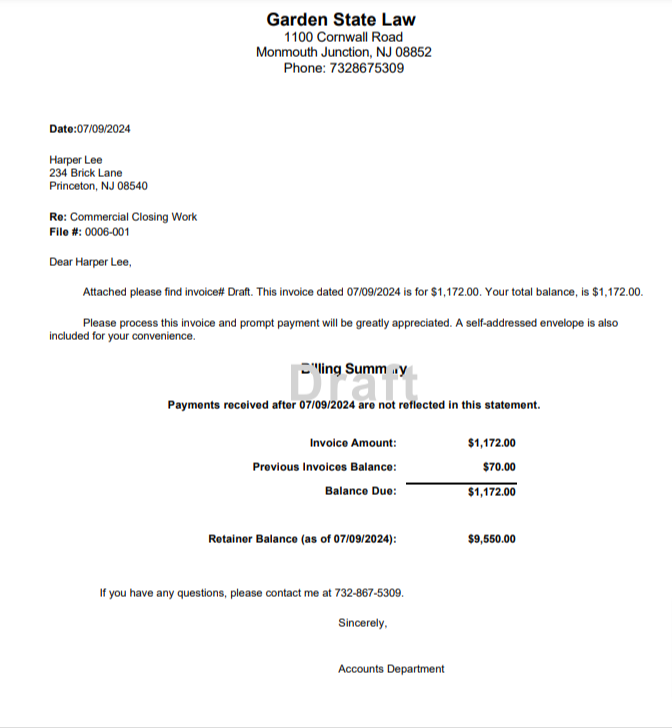
Prior to generating an invoice, you can preview your invoice and download a sample of it, to review it and see what it looks like.
To approve a draft invoice, make sure you have enabled the invoice approval settings under Setup > Firm Settings > Invoice Settings.
Watch a Video
Generate a Draft Invoice
To generate a draft invoice:
From Matters
- From the left navigation panel, click Matters.
- On the Matters screen, double click the matter for which you want to preview the invoice.
- Scroll down and from the tabs atop its Summary section, click Billing.
- From the tabs on the Billing screen, click Invoice.
- From the tabs on the Invoice screen, click Add Invoice.
The Add Single Invoice screen will display as Draft.
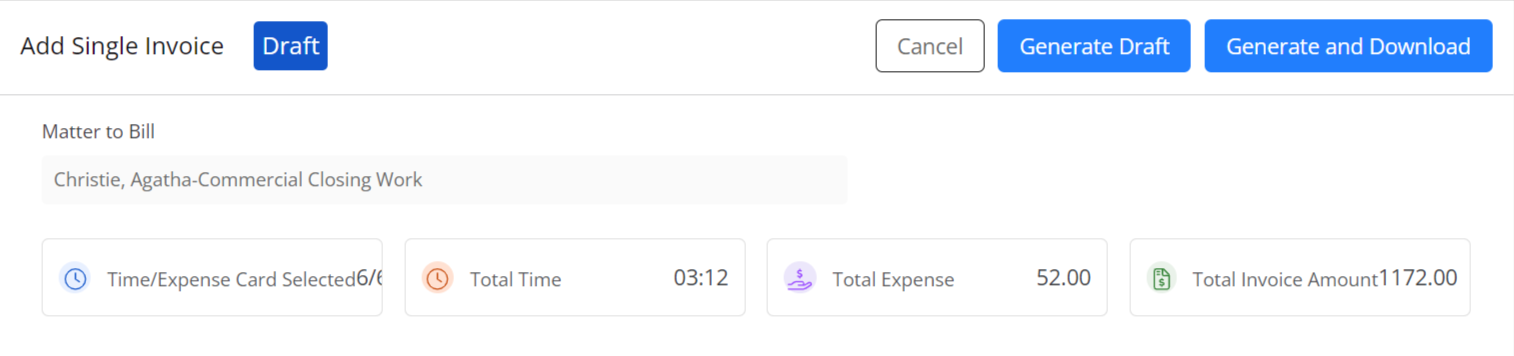
- From the tabs atop the Add Single Invoice screen, click Generate Draft.
The draft invoice will appear in your list of invoices.
- From the tabs atop the Add Single Invoice screen, click Generate and Download.
Your draft invoice will appear in the list of invoices and download to your computer for review.
- From the tabs atop the Add Single Invoice screen, click Generate Draft.
From Billing
Single Invoice
- From the left navigation panel, click Billing.
- From the Billing menu, click Invoice.
- From the tabs on the Invoice screen, click Add Single Invoice.
- On the Add Single Invoice screen, enter the name of the matter you want to bill.
- The Add Single Invoice screen will display as Draft.
- From the tabs atop the Add Single Invoice screen, click Generate Draft.
The draft invoice will appear in your list of invoices. - From the tabs atop the Add Single Invoice screen, click Generate and Download.
Your draft invoice will appear in the list of invoices and download to your computer for review.
- From the tabs atop the Add Single Invoice screen, click Generate Draft.
Bulk Invoice
- From the left navigation panel, click Billing.
- From the Billing menu, click Invoice.
- From the tabs on the Invoice screen, click Add Bulk Invoice.
The Add Bulk Invoice screen will display as Draft.
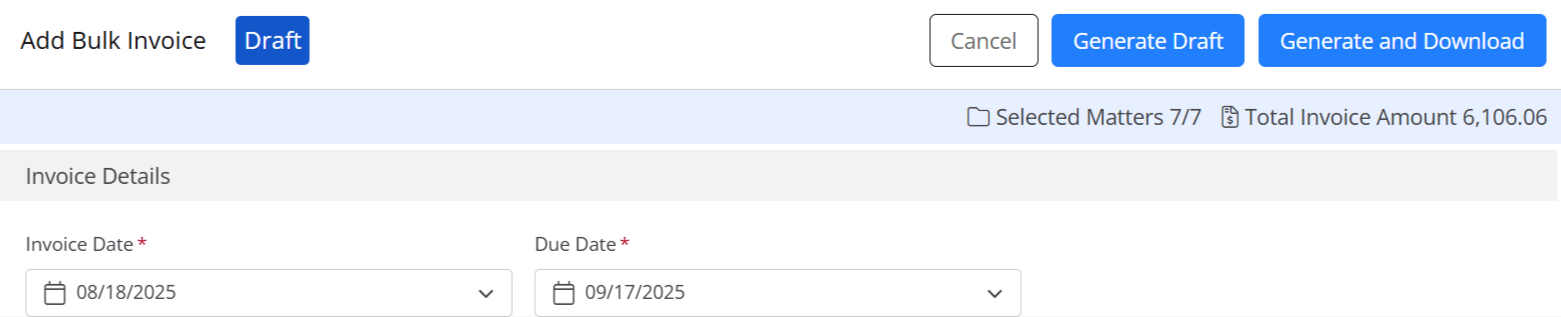
- On the Add Bulk Invoice screen, select all the invoices for which you wish to generate a draft and click Generate Draft or Generate or Download.
- You will get a warning message, click Yes to continue, No to go back.
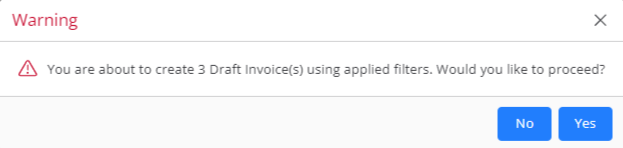
If you click Yes, depending on your selection, the draft invoice(s) will appear in your list of invoices, or appear in the list of invoices and download to your computer.
Edit a Draft Invoice
To edit a draft invoice, follow the steps to edit an invoice.
Approve a Draft Invoice
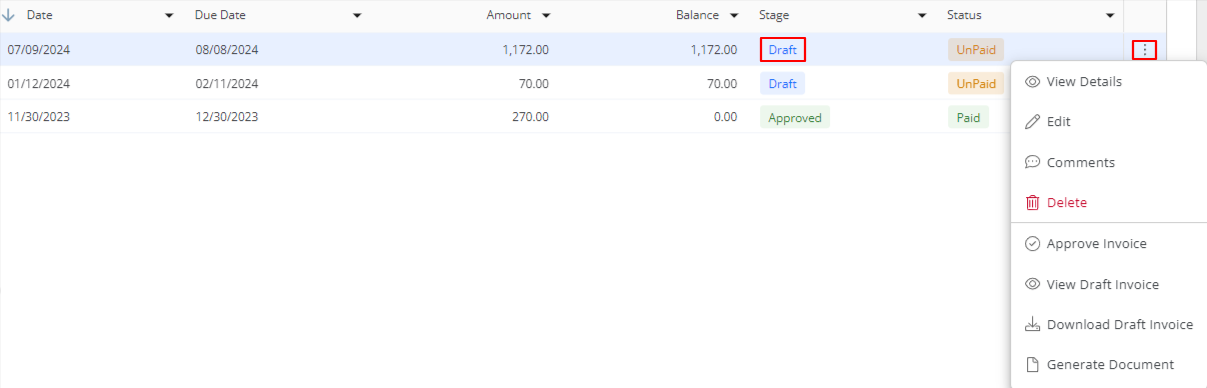
- Once you have reviewed your invoice(s) and are satisfied with the entries, from the list of invoices, select the draft invoice(s) you wish to approve.
- Click on the three dots at the end of the row, and from the drop-down, select Approve Invoice.
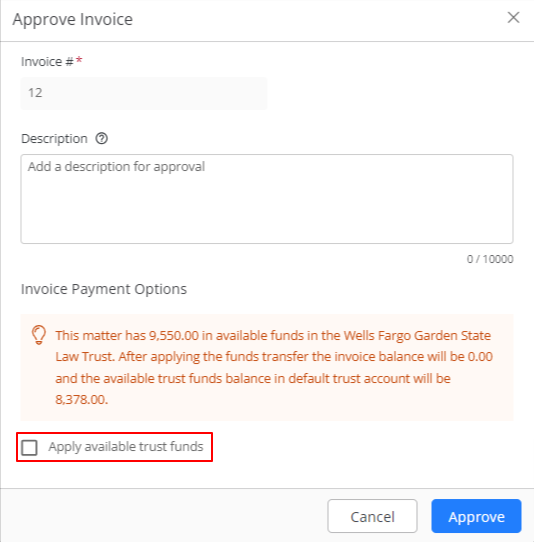
- On the pop-up that displays, you can add a description and click Approve.
- If you have enabled Trust Auto Apply at the firm level and at the matter level, you have the option to apply the matter’s available trust funds to the invoice(s) and then approve it by checking the box.
Revert Approved Unpaid Invoice to Draft
To revert an approved (unpaid) invoice to draft:
- From the list of invoices under Matters > Billing > Invoices, or Billing > Invoices, select the approved invoice.
- Click on the three dots at the end of the row, and from the drop-down, select Revert to Draft.
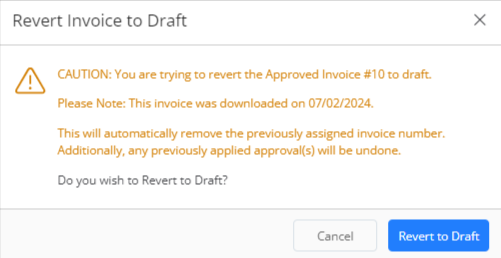
- You will get a warning message. Click Revert to Draft or Cancel to go back.
- If you clicked Revert to Draft, your approved invoice will go back to Draft stage.
Revert Approved Paid Invoice to Draft
Before you revert an approved (paid) invoice to draft, you will have to unlink the associated payment:
- From the list of invoices under Matters > Billing > Invoices, or Billing > Invoices, select the approved and paid invoice.
- Click on the three dots at the end of the row and from the drop-down, select Unlink Payment.
- On the Unlink Payment screen, the unlink payment date will default to today’s date, select the date for unlinking from the calendar.
- Check the box(es) beside the payment(s) linked to the invoice and in the upper right corner, click Unlink Selected Payment(s).
- You will get a warning message. Confirm that you wish to Unlink Selected Payment(s).

Your invoice status will change to Unpaid, but it will still be in the Approved stage. - To revert it to draft stage, follow the steps to Revert Approved Unpaid Invoice to Draft.
Bulk Approve Invoices
To approve invoices in bulk:
- From the left navigation panel, click Billing.
- From the Billing menu, click Invoices.
- On the invoices page, from the invoices grid, select the invoice(s) you want to approve by checking the boxes beside each.
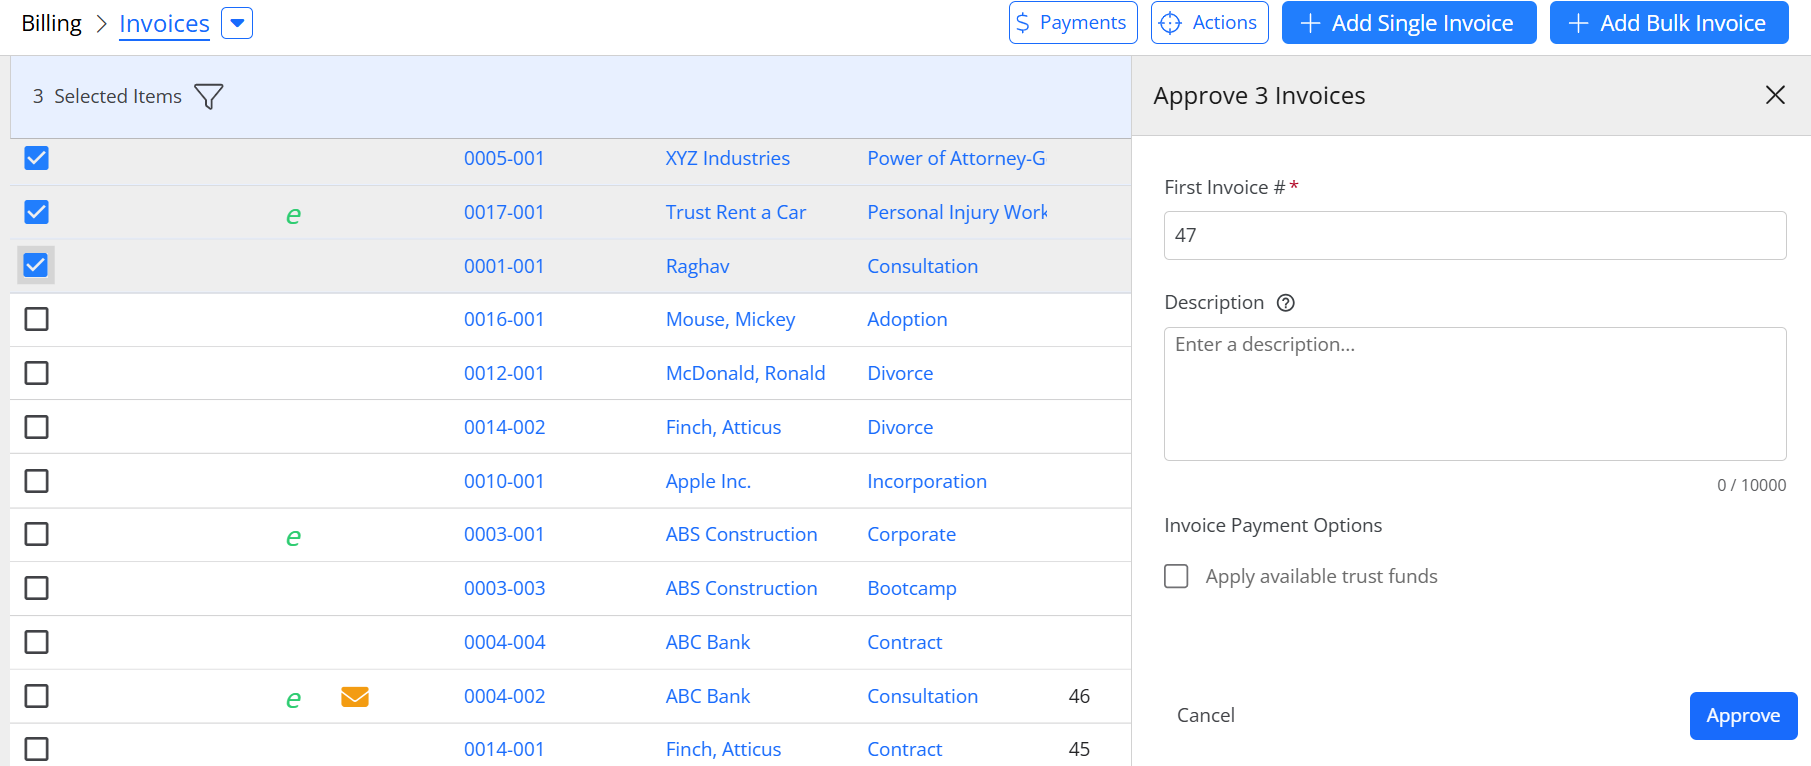
- From the toolbar above the grid, click More > Approve Invoices.
- On the panel that opens, the first invoice number will be entered by default, but can be changed.
- In the description field, enter a description, if desired.
Note: This description cannot be changed once the invoice is approved. - If you wish to apply trust funds, you can check the box to apply the available trust funds.
- At the bottom of the panel, click Approve.
- You can add the action to the job list.
Once the invoices are approved, you will get a success message.
Bulk Revert Invoices to Draft
To bulk revert approved invoices to draft:
- From the left navigation panel, click Billing.
- From the Billing menu, click Invoices.
- On the invoices page, from the invoices grid, select the invoice(s) you want to revert to draft by checking the boxes beside each.
- From the toolbar above the grid, click More > Revert to Draft.
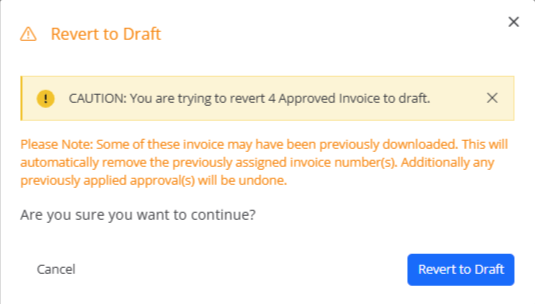
- You will get a warning message. Click Revert to Draft or Cancel to go back.
- If you clicked Revert to Draft, your approved invoice(s) will go back to Draft stage.