How Can We Help?
Search for answers or browse our knowledge base.
Sync Your Google Calendar
You can synchronize your Google calendar events in real-time with the application’s calendar. This integration is bidirectional, meaning anything you create in the application will appear in your Google calendar, and vice versa.
Important: Completing the integration will not sync existing events with Google Calendar. Going forward, all events will be synced.
Setup (Firm Level)
- From the toolbar, click your Profile icon.
- From the drop-down, select Setup.
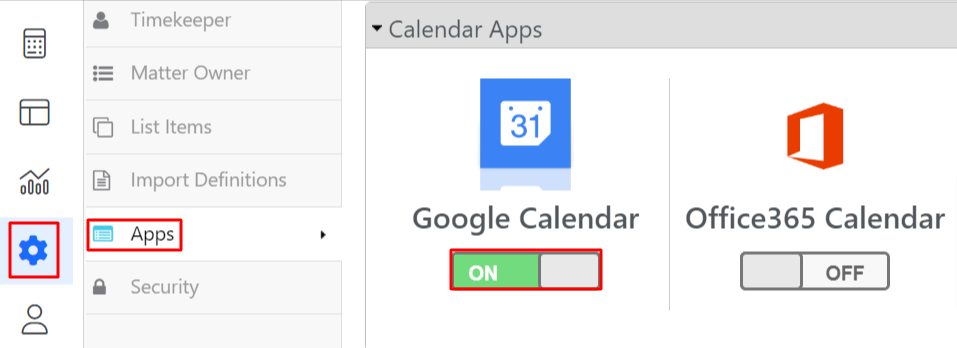
- At the bottom of the Setup left navigation, click Apps.
- On the Apps screen, in the Calendar Apps section, click the Google Calendar on/off slider.
The slider switches to On. Google Calendar sync is activated and available for use at the user level.
Setup (User Level)
Users have the option to link an existing or new Google Calendar.
Existing Google Calendar
To sync your Google Calendar with the application’s calendar:
- From the toolbar, click your Profile icon.
- From the drop-down, select Setup.
- At the bottom of the Setup left navigation, click My Settings.
- From the tabs atop the My Settings screen, click User.
- From the Default Calendar field’s drop-down, click Google.
- In the Google Calendar field, click Sign in with Google.
Google’s Choose an account screen launches.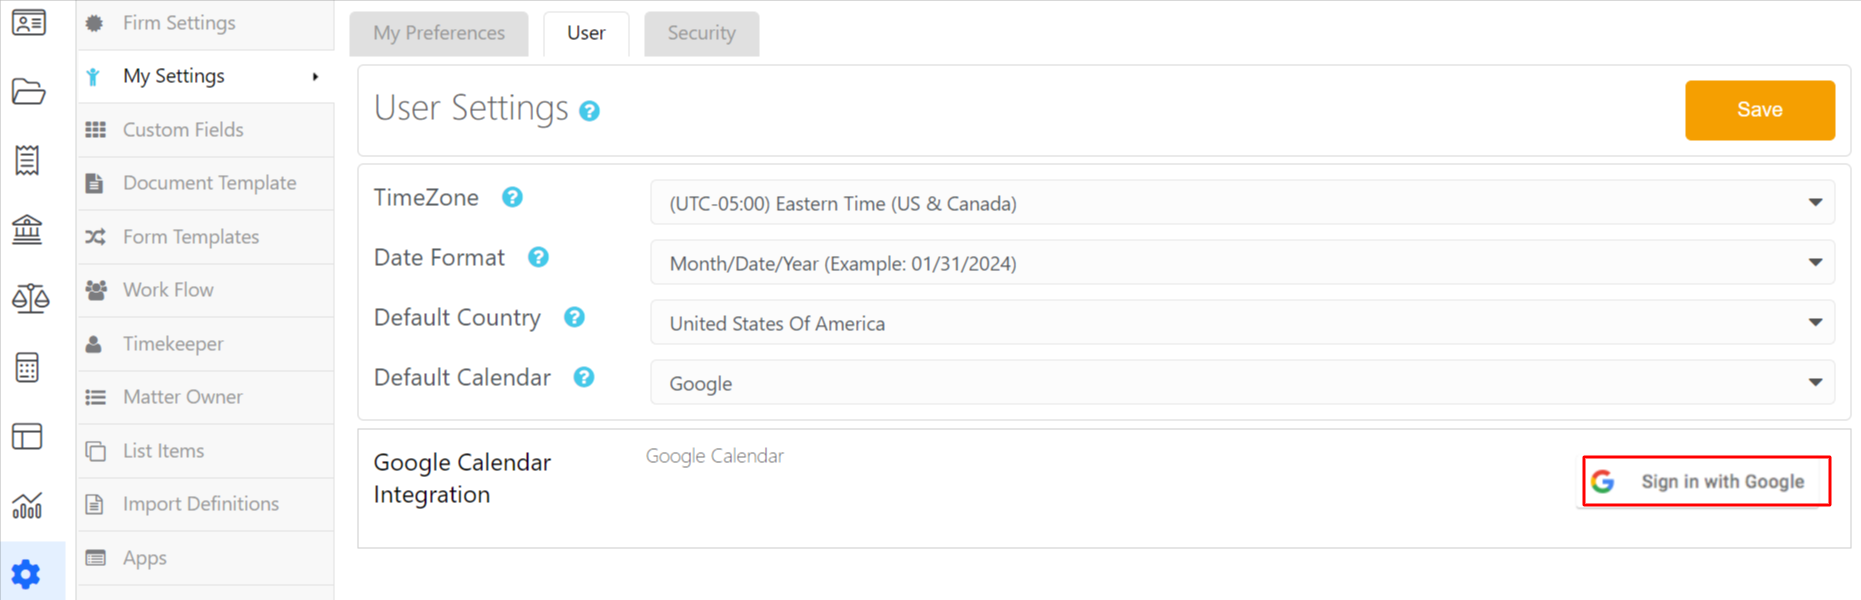
- Choose your account.
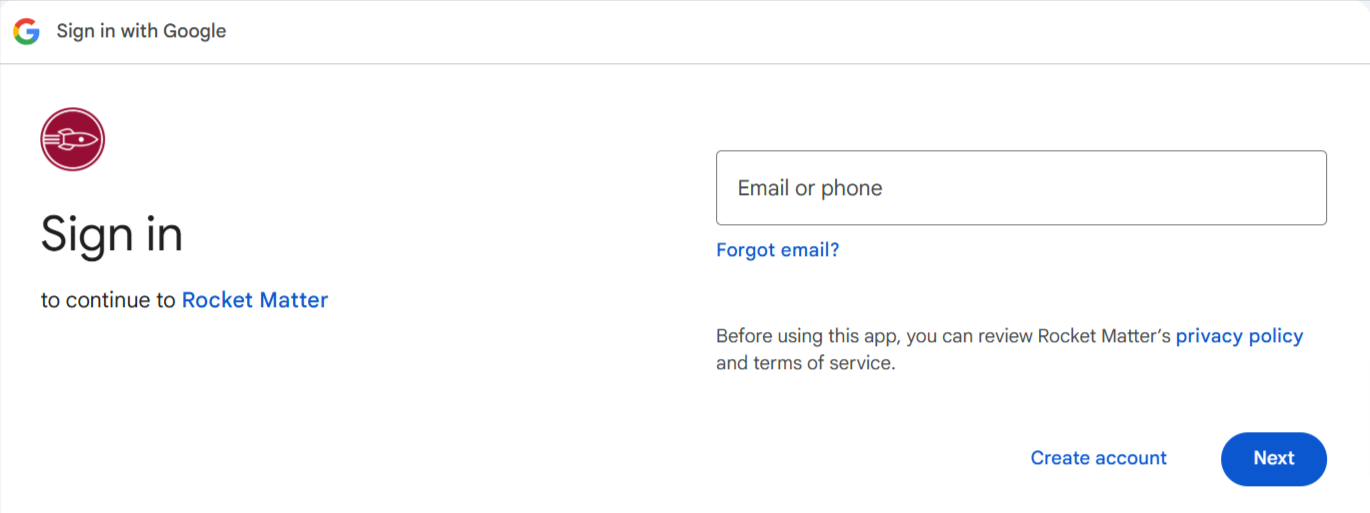
- If you are not already logged in, when prompted, enter your login credentials and sign in.
The screen message reads: Rocket Matter wants to access your Google Account - Click Continue.
Google’s Calendar Integration screen asks which calendar to sync.
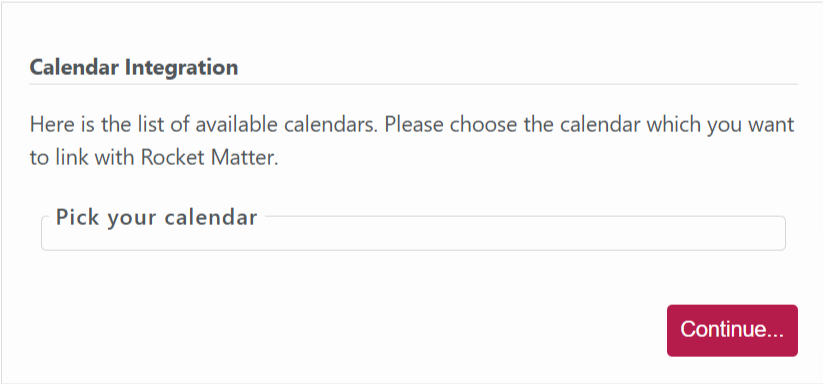
- Click Continue.
A message displays: Google Calendar is successfully linked to your Rocket Matter Account!
New Google Calendar
To create and sync a new Google Calendar with the Rocket Matter calendar:
- Log in to your Google calendar.
- Beside the Other calendars field, click the plus sign (+).
A drop-down displays. - Click Create new calendar.
The Create new calendar screen opens. - In the Name field, enter the new calendar’s name (such as Rocket Matter).
- At the bottom of the screen, click Create calendar.
Google creates your new calendar. - Return to your Rocket Matter account.
- From the toolbar, click your Profile icon.
- From the drop-down, select Setup.
- From the Setup left navigation, click My Settings.
- From the tabs atop the My Settings screen, click User.
- From the Default Calendar field’s drop-down, click Google.
- In the Google Calendar field, click Sign in with Google.
Google’s Choose an account screen launches. - When prompted, enter your login credentials and sign in.
The screen message reads: Rocket Matter wants to access your Google Account. - Click Allow.
Google’s Calendar Integration screen asks which calendar to sync. The radio button for Rocket Matter (Existing) is pre-selected. - Click Continue.
A message box reads: Google Calendar is successfully linked to your Rocket Matter Account! Going forward, events you create in your new Google Rocket Matter calendar will populate and sync with the Rocket Matter app calendar, and vice-versa. - To continue working in Rocket Matter, click Back To Rocket Matter.
Note: You can confirm which email account is linked to your calendar, under Setup > My Settings > User 
Re-Sync Your Calendar
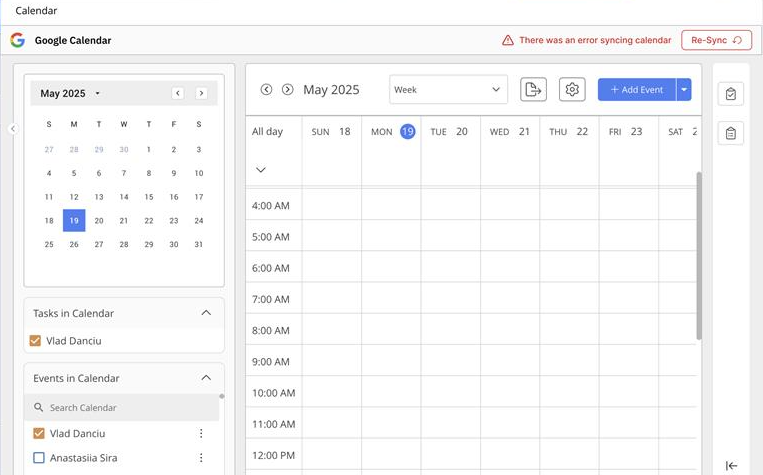
If calendar sync issues occur due to expired or changed credentials, you will get a notification atop your calendar screen. Click Re-Sync to start syncing your google calendar again.