How Can We Help?
Search for answers or browse our knowledge base.
Send Your Invoices (Email & SMS)
You can send invoices for one matter from Matters, or invoices for several matters at once from Billing.
Watch a Video
Send an Invoice
From Matters
- From the left navigation panel, click Matters.
- From the Matters screen, either double-click the matter and scroll down to its summary section.
- From the tabs atop the Matters summary section, click Billing.
- From the tabs atop the Billing section, Click Invoice.

- From the Invoice toolbar, click the envelope icon and from the drop-down, click Send Invoice(s).
The Send Invoice(s) screen opens. - In the Invoice Date Range section, use the drop-down and corresponding date fields, as desired, to enter your date range. Within the drop-down, all fields listed after Last Year permit you to edit the date field or fields, as applicable.
- In the Options section use the toggle buttons:
-
- To include or not include invoice(s) previously emailed.
- To include or not include invoice(s) previously downloaded.
-
- Click the radio button to send the invoice by Email, Text Message, or Email and Text Message.
- Check the boxes to the left of the invoices you want to send.
- Click Advanced Settings at the bottom of the window.
- In the Print Invoice Selection field, click the radio button to select either Current Status or Original. Click the question mark beside each field if you need clarification.
- Either turn the toggle button on or leave off, to Include effect of Write-off amount (if any), as needed.
- In the upper right corner, click Next.
- If you choose to send the invoice by:
- Email: Review the Email Invoice template language to be sure you are satisfied with it. The system will populate fields in brackets ([ ]) based on your matter’s details. For additional information, see Customize Email Templates.
- SMS: Review the SMS Invoice(s) text. You can enter additional text or edit the existing text in the Editable Message Body area. The system will populate fields in brackets ([ ]) based on your matter’s details.
- Email and SMS: Review the Email and SMS text language.
- Click Send.
From Billing
- From the left navigation panel, click Billing.
- From the Billing menu, click Invoices.
- On the invoices page, either:
- From the invoices grid, select the invoice(s) you want to send by checking the boxes beside each.
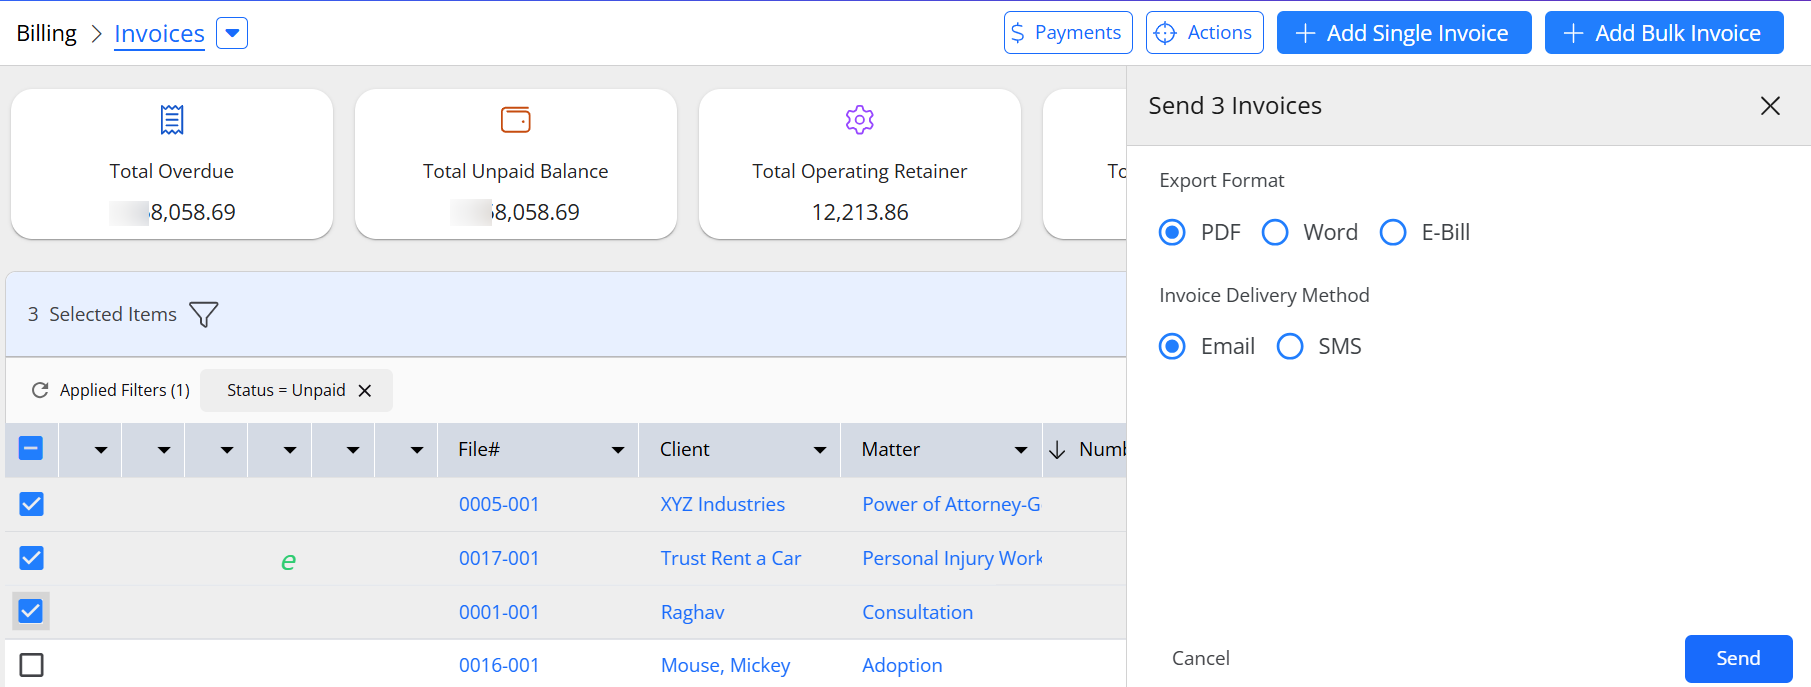
- From the toolbar above the grid, click More > Send Invoices.
- On the panel that opens, select the format and method to send the invoice(s).
- At the bottom right of the panel, click Send.
- From the invoices grid, select the invoice(s) you want to send by checking the boxes beside each.
- Or:
- From the toolbar atop the Invoices screen, click the envelope icon and from the drop-down, click Send Invoice(s).
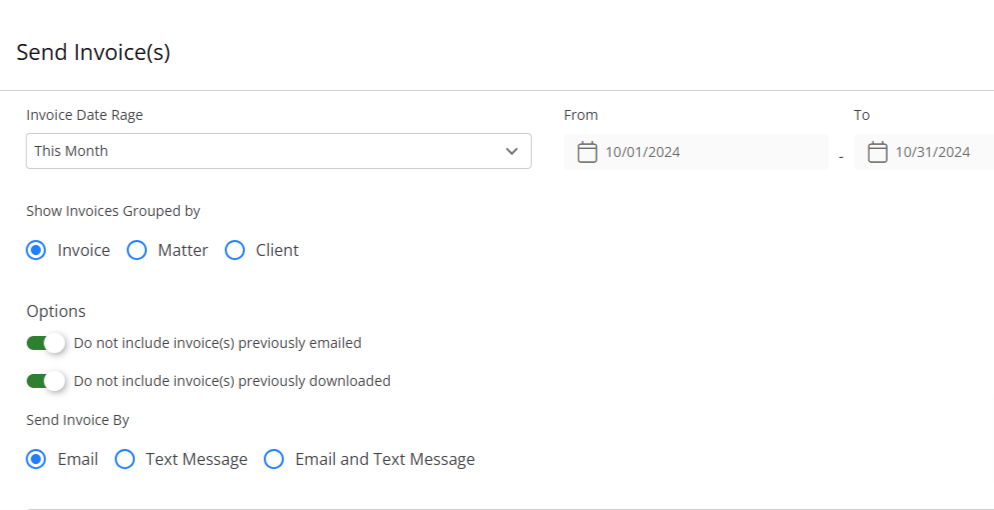
The Send Invoice(s) screen opens. - In the Invoice Date Range section, use the drop-down and corresponding date fields, as needed or desired, to enter your date range. Within the drop-down, all fields listed after Last Year permit you to edit the date field or fields, as applicable.
- In the Show invoices grouped by section, click the radio button for Invoice, Matter, or Client, as applicable.
- From the toolbar atop the Invoices screen, click the envelope icon and from the drop-down, click Send Invoice(s).
| Invoice |
|
|---|---|
| Matter |
|
| Client |
|
- In the Options section use the toggle buttons:
-
- To include or not include invoice(s) previously emailed.
- To include or not include invoice(s) previously downloaded.
-
- Check the boxes to the left of the invoices you want to email.
- Click Advanced Settings.
- In the Print Invoice Selection field, click the radio button to select either Current Status or Original. Click the question mark beside each field if you need clarification.
- Either turn the toggle button on or leave off, to Include effect of Write-off amount (if any), as needed.
- In the upper right corner, click Next.
- If you choose to send the invoice by:
- Email: Review the Email Invoice template language to be sure you are satisfied with it. The system will populate fields in brackets ([ ]) based on your matter’s details. For additional information, see Customize Email Templates.
- SMS: Review the SMS Invoice(s) text. You can enter additional text or edit the existing text in the Editable Message Body area. The system will populate fields in brackets ([ ]) based on your matter’s details.
- Email and SMS: Review the Email and SMS text language.
- Click Send.
Your Invoice(s) will be queued for processing.