How to integrate leads from Forminator to Rocket Matter CRM
Pass leads captured in Forminator forms directly into Rocket Matter CRM.
This would require:
- Website login information
- The Forminator forms webhook application
- A Zapier account
Enabling the Forminator Forms Webhook Application
The first step to integrating your Forminator forms with Rocket Matter CRM is to ensure that you have the webhook application enabled.
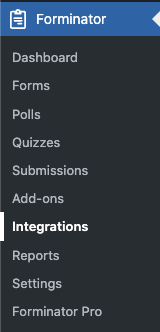
- You can confirm this by going to Forminator > Integrations
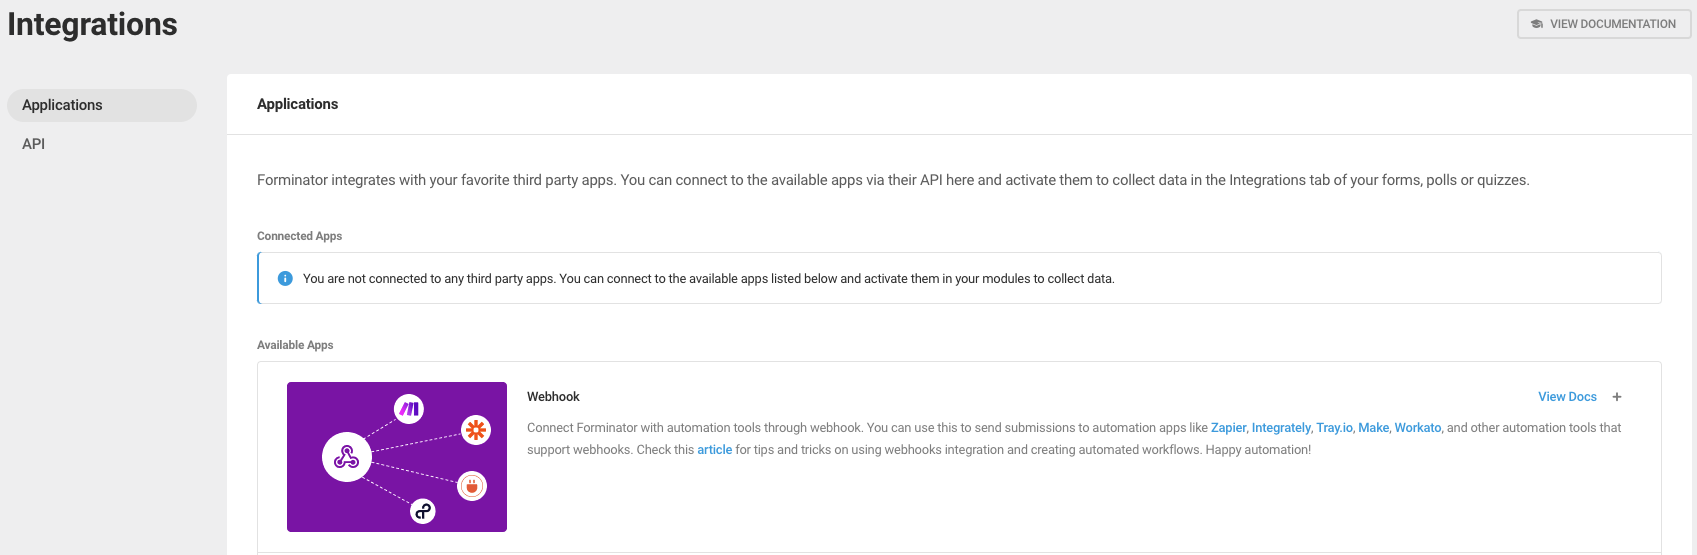
- Once on the integrations page, you will see that the 1st option is "Webhook".
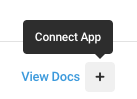
- Click on the "+" icon next to "View Docs" to connect this application.
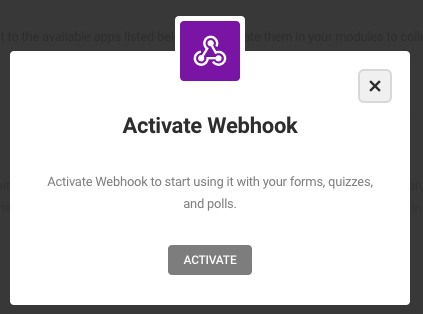
- A pop-up will open, click on "ACTIVATE".
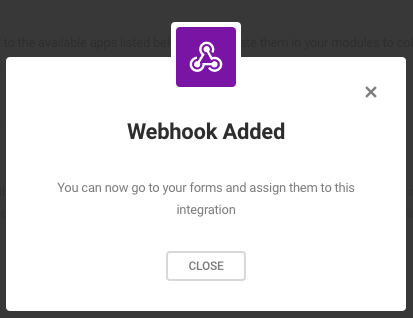
- To know if the application was successfully added you will see the following message.
Configuring your Forminator webhook to connect to Zapier
The next step is configuring your webhook to post to Zapier.
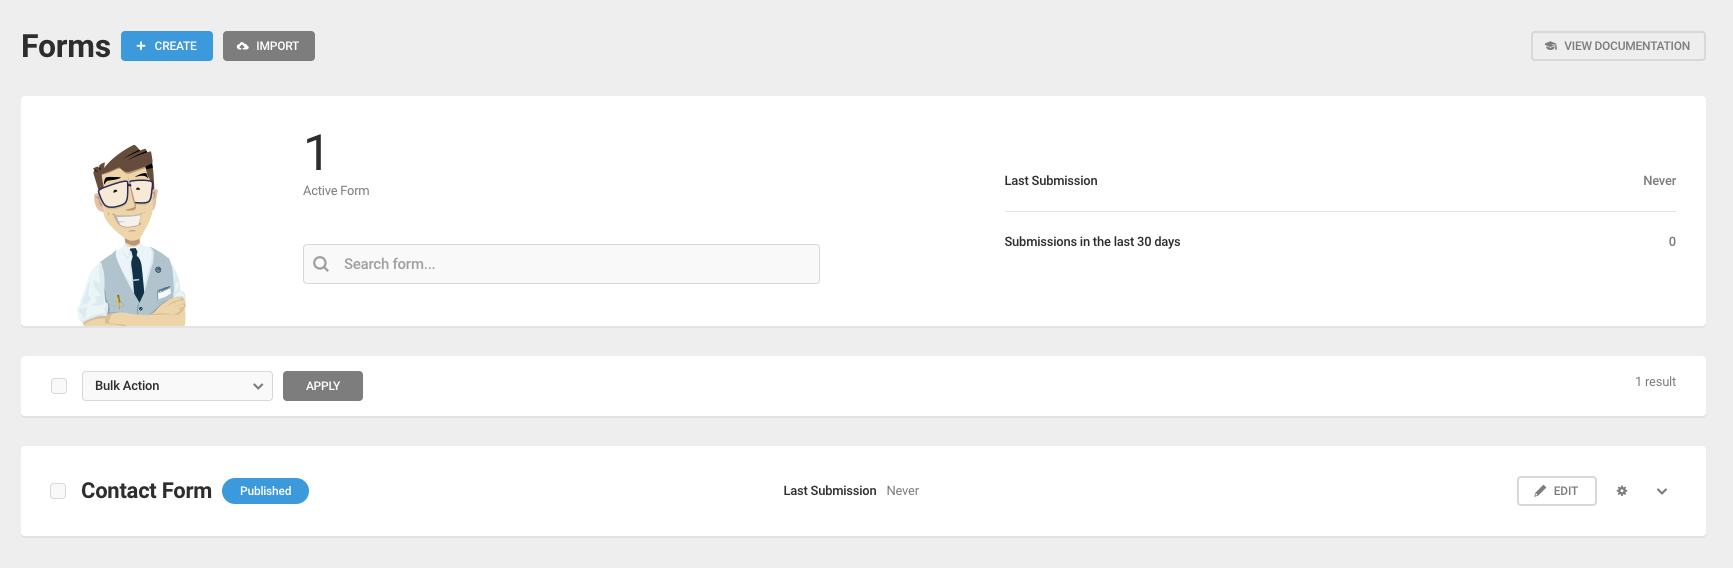
- To do so, please go to Forminator > Forms and click "edit" on the form that you want to have connected to Rocket Matter CRM.
- Inside the edit form settings please click on "Integrations".
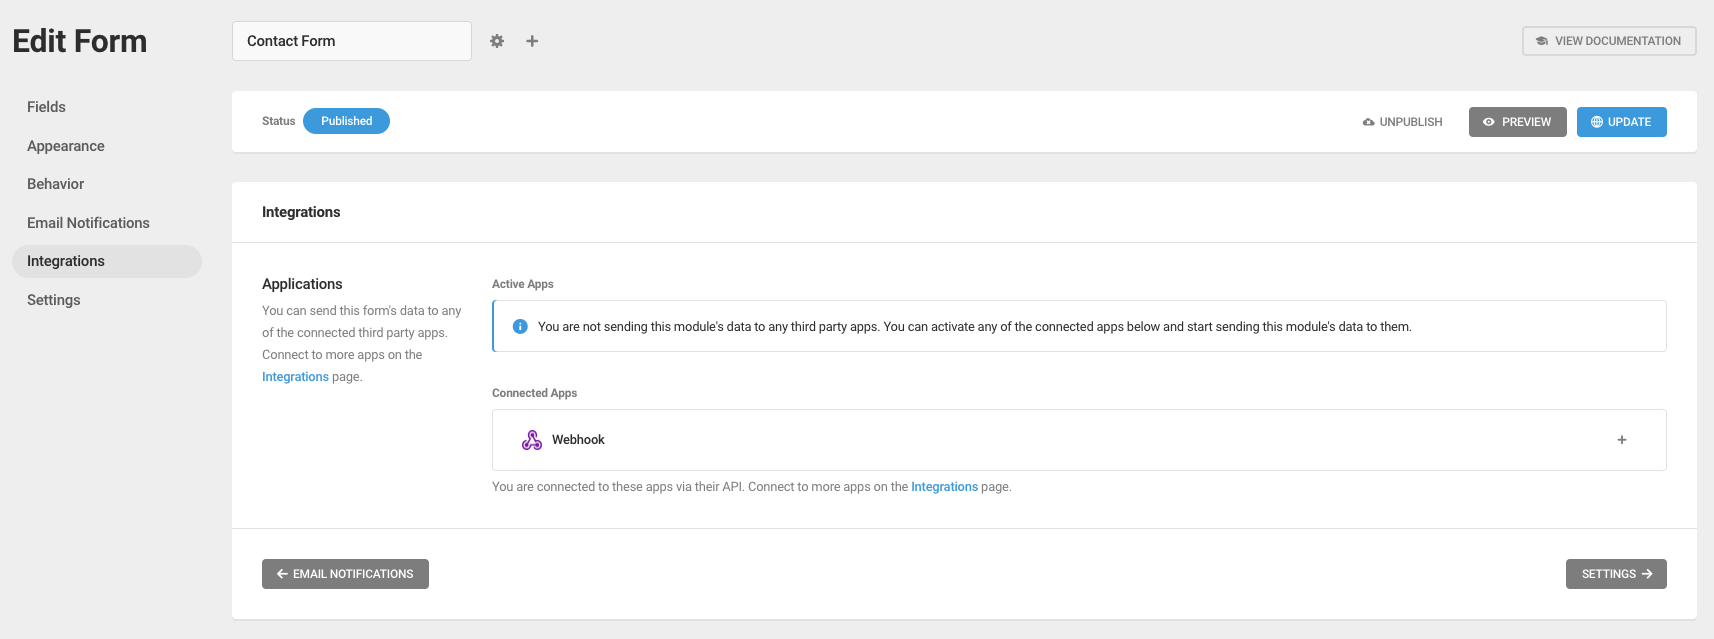
- Under "Connected Apps" please click on the "+" next to "Webhook" to start setting up the integration.

- A Set Up Webhook pop-up will open.
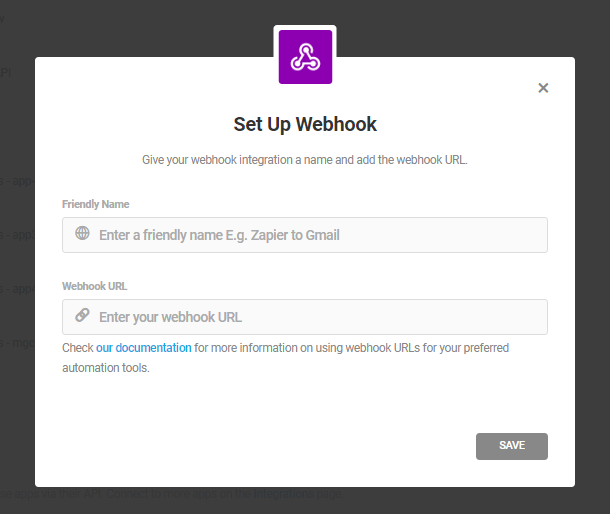
- Please add a friendly name for this webhook so you will remember what it is for.
For example: Rocket Matter CRM Integration
- In the Webhook URL field, you will need to enter a zapier webhook/catch hook.
- Press "SAVE" once you have filled both of these fields.
How to generate a Zapier webhook/catch hook to integrate with Rocket Matter CRM
-
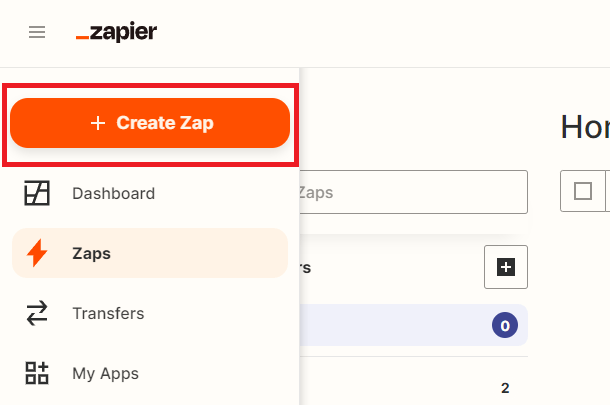
If you haven’t created any ZAPs before, go to your Zapier account and click on the Create Zap button.
-
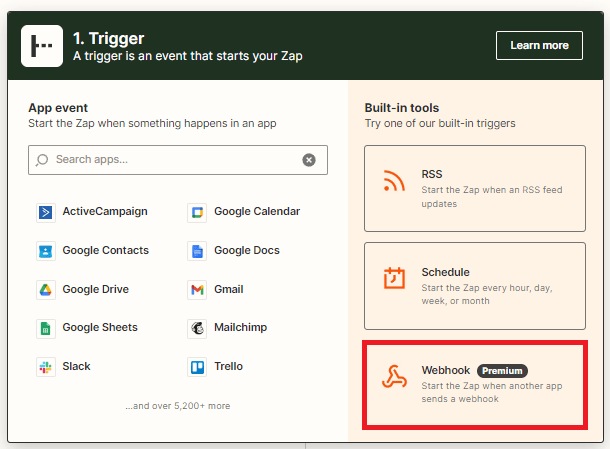
For your trigger app, choose Webhook.
-
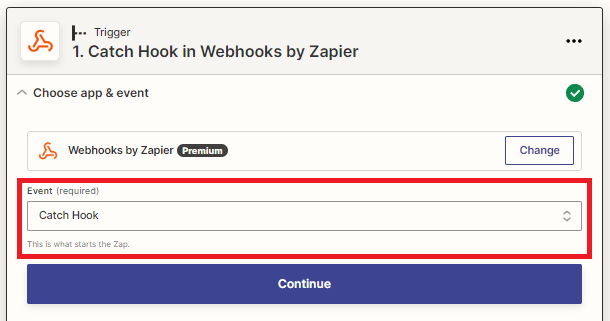
From the Trigger Event dropdown, select Catch hook, then click Continue.
-
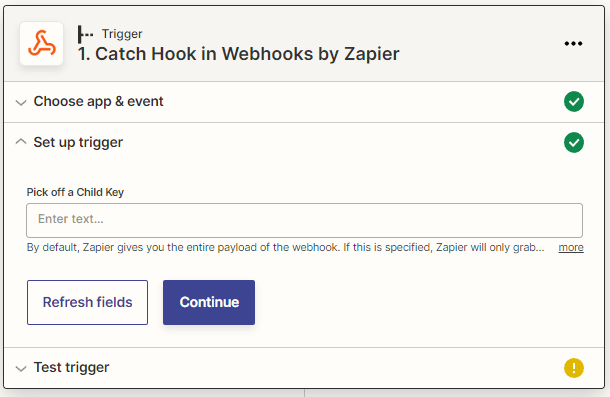
Click Continue again.
-
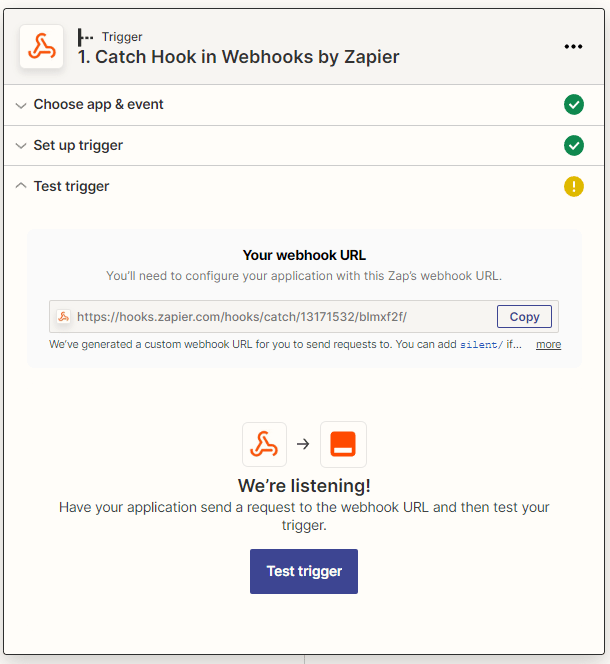
Copy Your Webhook URL shown on that screen.
-
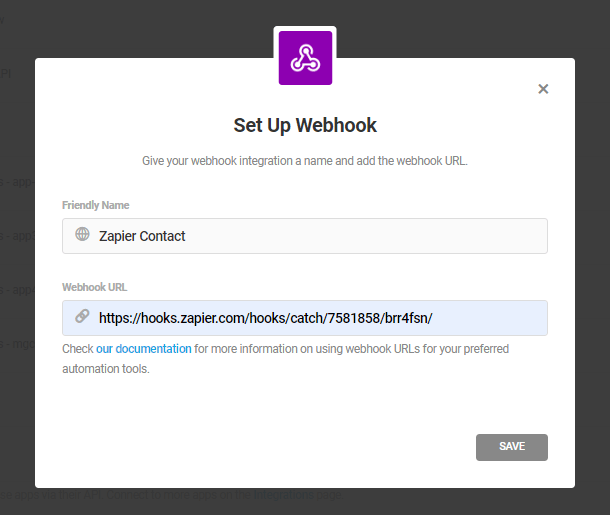
Then paste that URL into the Webhook URL field in your form’s Webhook integration, and click Save.
-
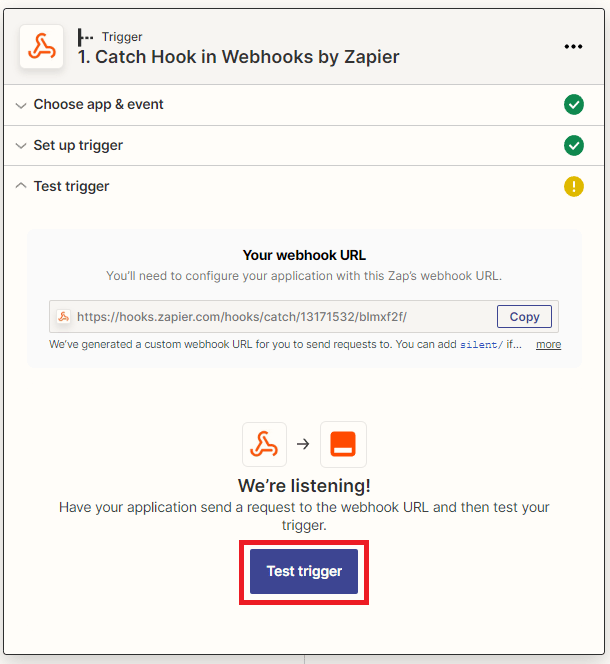
Then, back in your zap setup at Zapier, click the Continue button on the Webhook URL screen. Then click the Test Trigger button on the next screen.
Note: Please make sure that you have at least 1 test submission on the form that you are integrating so that the sample gets pulled in Zapier.
-
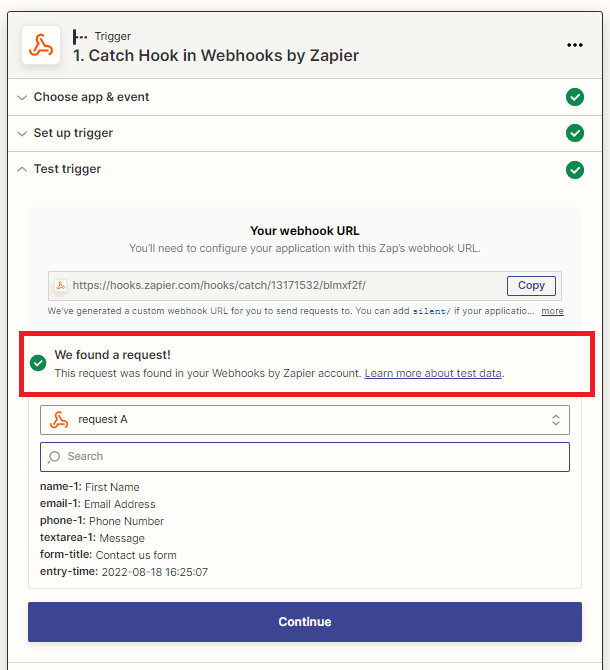
Once you get a Success message, click Continue.
Configuring Zapier to post to Rocket Matter CRM
The second step in the Zap will be to connect to another app.
- For the Choose App option, you will be using the Webhooks by Zapier feature to integrate.
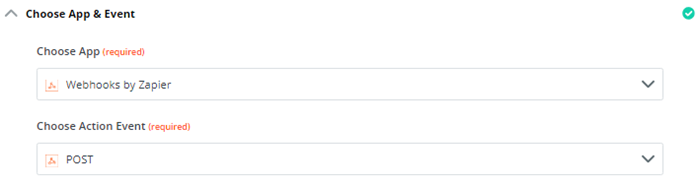
-
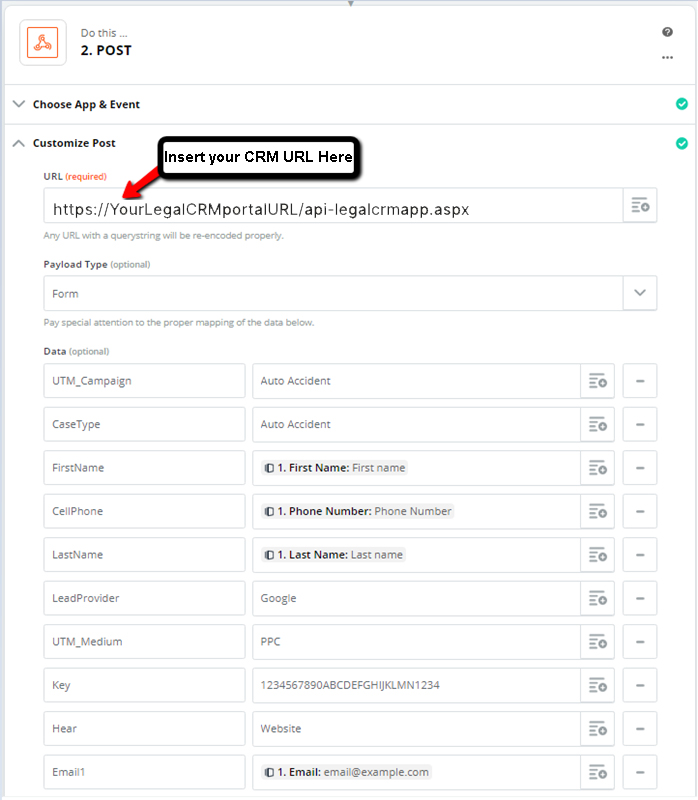
Next, click on Customize Post to open up the API parameters. This is where you will add your Rocket Matter CRM Secret API Key and other required parameters to create leads/intakes in the CRM.
Required parameters:
- Key: (You can find this in Setup > 3rd Party Integrations > API Key)
- CaseType: (This must match the case types that are configured into CRM)
- LeadProvider: (Ex: Google Note: This is the Marketing Source, e.g. Google, Website Name, Facebook, etc)
- FullName: (or FirstName & LastName)
Mapping your additional data points (fields):
You now can add any other data points that are supported in the API guide. On the left enter in the Rocket Matter CRM Parameter name and on the right click into the field to grab data points from your starting app’s form / data points.
Example:
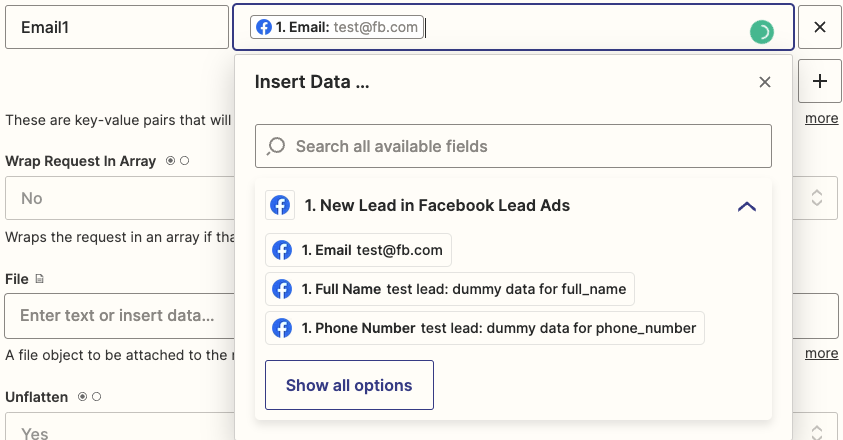
- Make sure that the Payload Type is selected as Form since it must be encoded as form data.
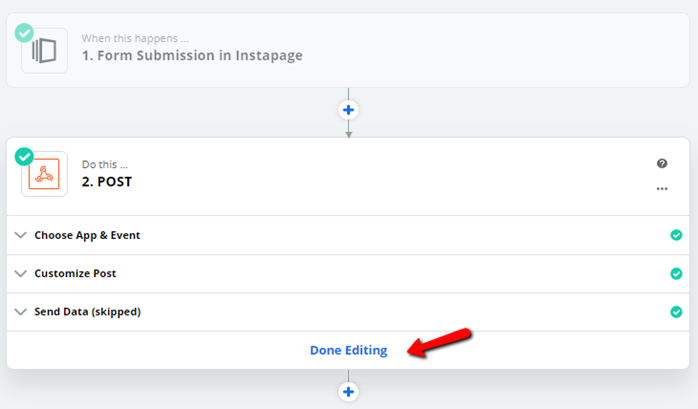
- When finished adding the Rocket Matter CRM API parameters, you will press the blue Done Editing button at the bottom of the screen. We do not suggest that you change any other settings inside of the Zap unless you know what you are doing.
- Finally, there are a couple of important steps left to get this Zap going. You will need to Activate the Zap inside of Zapier after thoroughly test the Zap before going live with it in a production environment.
Please be aware that Rocket Matter CRM duplicate checking rules will not allow you to recreate test submissions with the same phone number/email address and will reject them as duplicates. Thus, when you are testing, use unique test phone numbers/email address data for each test for optimal results!