How Can We Help?
Search for answers or browse our knowledge base.
Install the Outlook Add-In
Our Microsoft Outlook Add-In allows you to tag your emails to your matters from Outlook’s desktop and web applications.
Caution:
For the Add-In to function, you must:
- Enable cookies. Incognito or private browsing will not function with the Add-In.
- Create Office 365 and Microsoft Exchange accounts.
- Activate email forwarding within Rocket Matter. If your emails already auto-forward to Rocket Matter, deactivating the auto-forwarding only within Outlook will allow you to auto-forward and tag only those emails you want to archive in Rocket Matter.
- Not use Internet Explorer 11 as it is not compatible.
Note: To optimize the add-in, enable the Reading Pane in Outlook. Click here to learn about the Reading Pane.
Outlook (Desktop)
To install the Add-In for your desktop Outlook app:
- Depending on your Outlook version or account type, select Add Apps or Get Add-ins.
- The dialog that appears varies depending on whether you had the Add Apps or Get Add-ins option available to you.
- If you selected Get Add-Ins, the Add-Ins screen opens.

- In the upper right corner’s search box, enter Rocket Matter.
- From the drop-down, click Rocket Matter.
- Toward the upper left corner of the plugin’s page, click Add.
Outlook installs the Add-In and adds an icon to your toolbar.
Outlook/Office App (Web)
To install the Add-In for your Outlook/Office 365 app:
- Single-click an Outlook email.
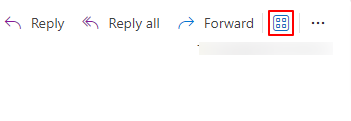
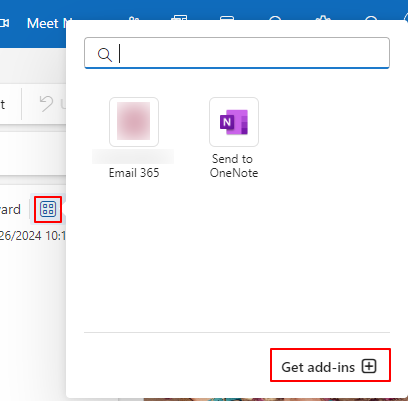
- From the action bar of the message, select Apps.

- At the bottom of the window that opens, click Get Add-In.

A drop-down displays the Rocket Matter logo. - From the drop-down, click Rocket Matter.

The Rocket Matter Add In page opens. - Toward the upper left corner, click Add.
Outlook installs the Add-In and adds it to the More actions drop-down.
To add an email to a matter and track time, see Using the Outlook Add-In.

