How Can We Help?
Search for answers or browse our knowledge base.
Use the Job List
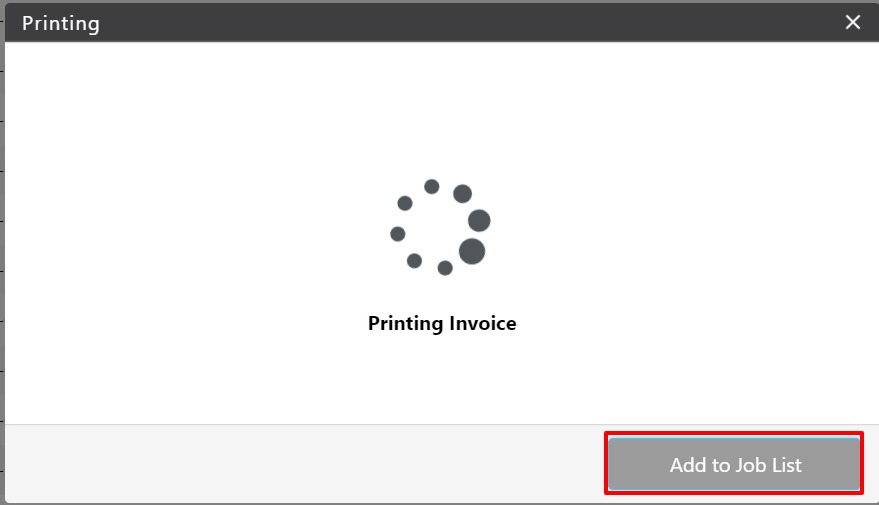
When you complete certain bulk actions such as printing multiple invoices, the option displays to either
- wait for the system to complete the action or
- add it to the Job List.
Jobs you add to the Job List continue their activities in the program while the system completes the download behind the scenes.
The Job List includes all jobs’ statuses, details, and results.
Note:
- Job List is a user specific feature. Each user has their own Job List.
- The system removes jobs from the Job List 14 days after you run them.
Add to the Job List
When you print multiple invoices, a prompt displays indicating Generating Document and offers the ability to Add to Job List.

Access the Job List
You can find the Job List icon toward the top right of the application.

When you click the icon, a window opens, displaying each job’s details.

Job List Table Columns
The Job List columns and their definitions are:
| Type | Job Type |
|---|---|
| Entered on | Date and time you entered job |
| Status | Current status (Running, Success, or Failed) |
| Message | Detailed job status description |
| Job Detail | Which items you emailed or downloaded |
| Result | Either an email confirmation or a link to download your job |
| Succeeded On | The date and time when the job was successfully completed |

