Keeping track of multiple timers enables you to easily monitor time for various activities, accounting for interruptions.
Watch a Video
- Associate the client, matter, hours, task, description, billable status, or timekeeper.
- Click to resume the timer
- Track time across matters
- Post time to individual matters
- Bulk post time to multiple matters
- Bulk delete time for multiple matters.
Navigating to your Timesheet
You can view your timesheet from two areas:
Option One:
- Click on the Time icon to the right of the timer.

Option Two:
- Click on Time in the left-hand navigation panel.
- You will see options for Time Dashboard and Timesheet. Click on Timesheet.
- The Timesheet screen will now be displayed.
Time Entry Format
You can enter time in minutes, hours, or hours and minutes, whichever you find easier.
| Increment | Example |
|---|---|
| Minutes |
|
| Hours |
|
| Hours and minutes |
|
Post your Time to a Timecard
To post your time to a timecard:
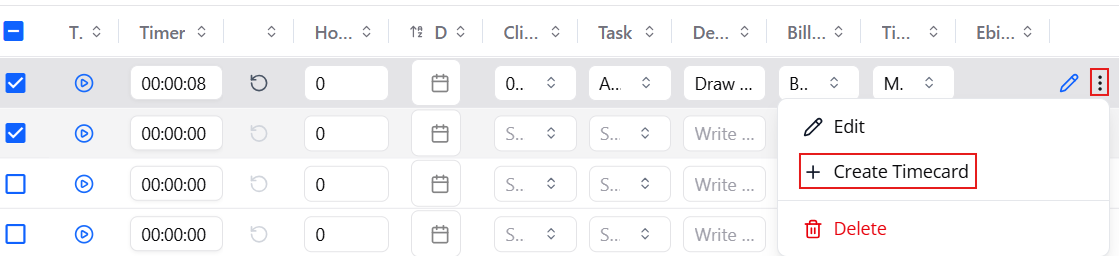
- While viewing your Timesheet, click the checkbox to the left of the matter.
- While the matter is selected, click on the 3 dots on the right-hand side.
- Select +Create Timecard
Bulk Post from the Timesheet
To bulk post time entries to their respective matters:
- On the Timesheet, check the boxes to the far left of the time entries you want to create. You can also click to select all.
- From the toolbar, click +Bulk Create Timecard.

- You'll see a green message "Timecard(s) created successfully".
- Once the Timecard is created, it will no longer appear on your Timesheet.
Create and Save Your View
To customize the way you view your timesheet and save it:
-
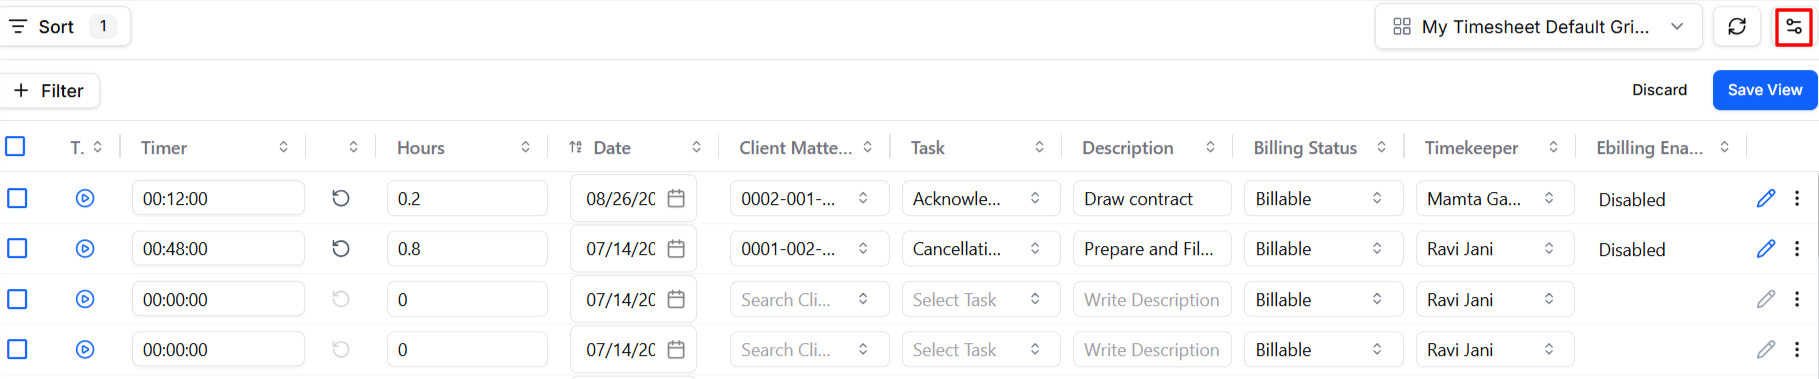
On the timesheet, in the top right of the grid, click the Settings icon.
-
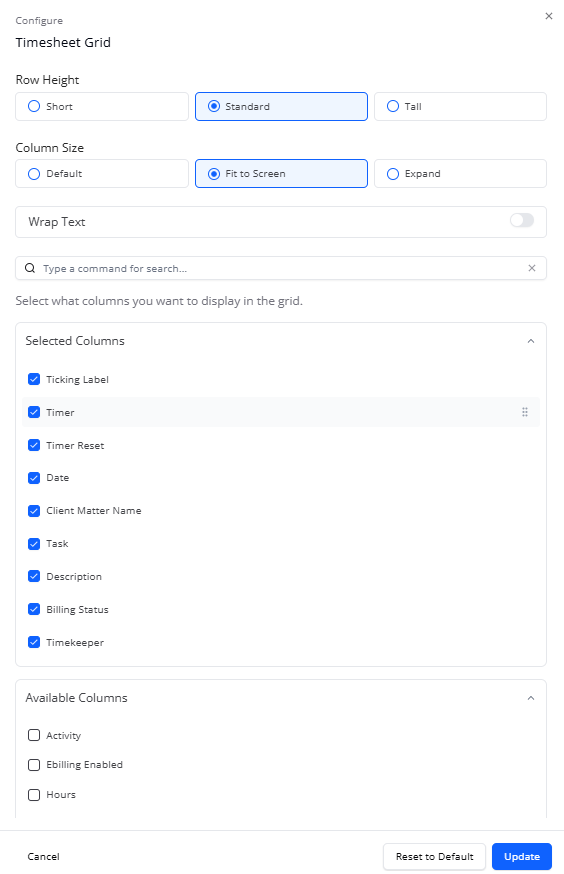
Configure the timesheet grid, including row height, column size, wrap text, and the columns you wish to include.
-
After making your selection, click Update.
-
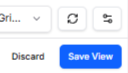
From the toolbar, click Save View.
-
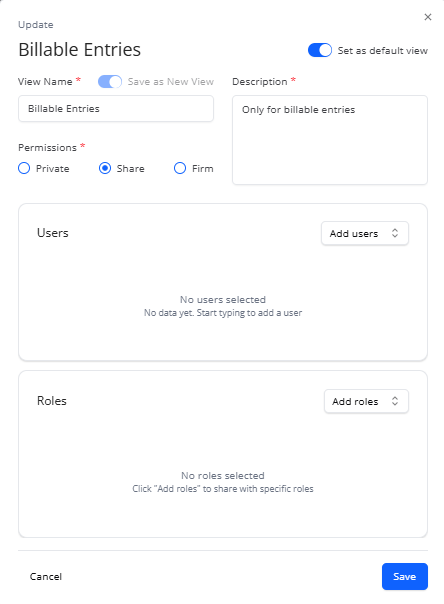
In the Update window that opens:
-
If you wish to set the view as your default, toggle on the button.
-
Give the view a name and description and toggle on the button to save as a new view.
-
Select your permissions from Private, Share, Firm.
-
After configuring your view settings, click Save.
Your view will be saved and will show in the list of views above the grid.
-