You can save a specific set of report filters as a named preset and schedule the report to run automatically at a set interval and have it emailed to specified recipients in PDF or Excel format. This article outlines the steps you take in the system to set the presets and schedule delivery.
Watch a Video
Accessing Reports
From Reports
- From the left navigation panel, click Reports.
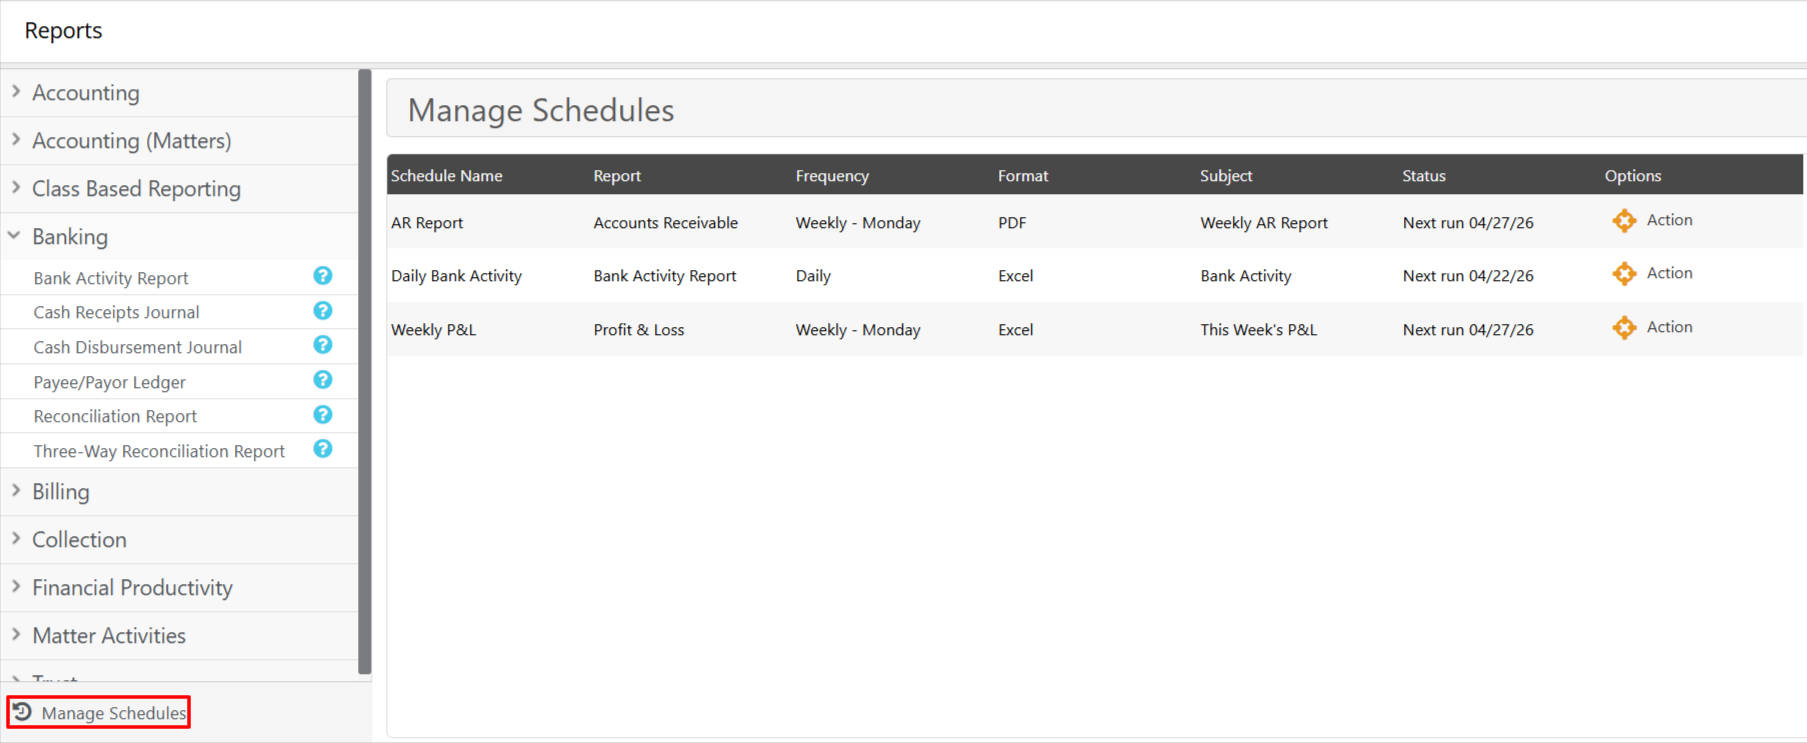
The Reports screen opens, displaying a left navigation panel, listing the report categories. These are:
- Accounting
- Accounting (Matters)
- Class-Based Reporting
- Banking
- Billing
- Collection
- Financial Productivity
- Matter Activities
- Trust
- Tax Collection/Payment *If Enabled*
- Law Society Compliance Docs *If in Canada*
- Click on a category to see the list of reports within it.
- Click on the desired report. You will see related filters on the right.
Save Your Presets
After you have accessed the report and applied the desired filters, you can save it as a preset. To save a preset:
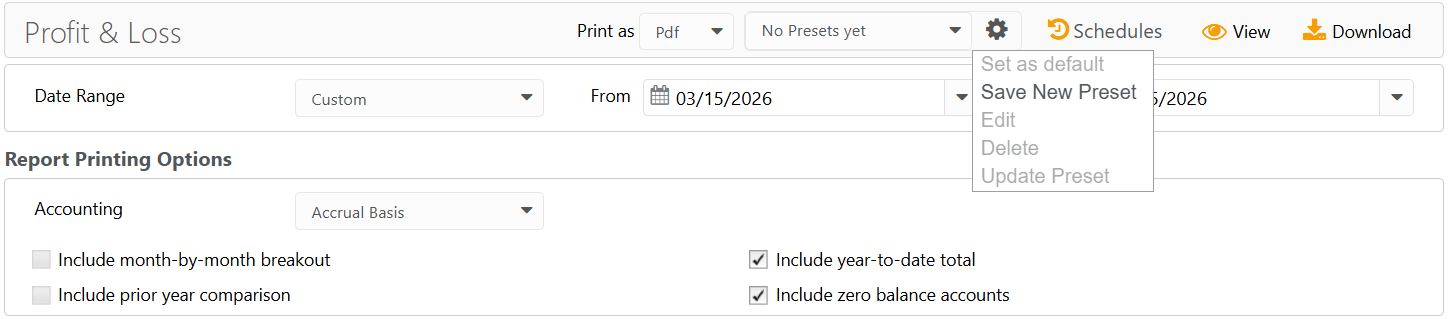
- After applying your filters to a report, from the toolbar, click the gear icon and select Save New Preset.
- On the Save Preset window, give your preset a name and add a description.
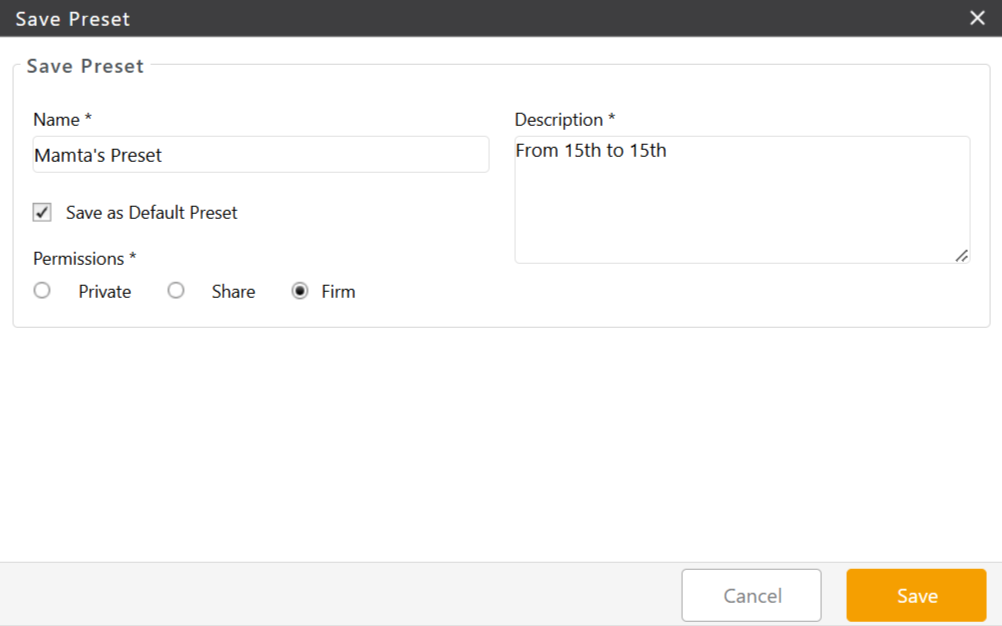
- If you wish to set this preset as your default, check the box beside Save as Default Preset.
- Choose from the permissions options:
- Private: This preset will only be visible to you when you navigate back to the specific report. (It will be your default, if you have checked Save as Default Preset.)
- Share: This allows you to share the specific preset with select users and/or select roles. You can opt to give the users Read Only or Read/Write permissions.
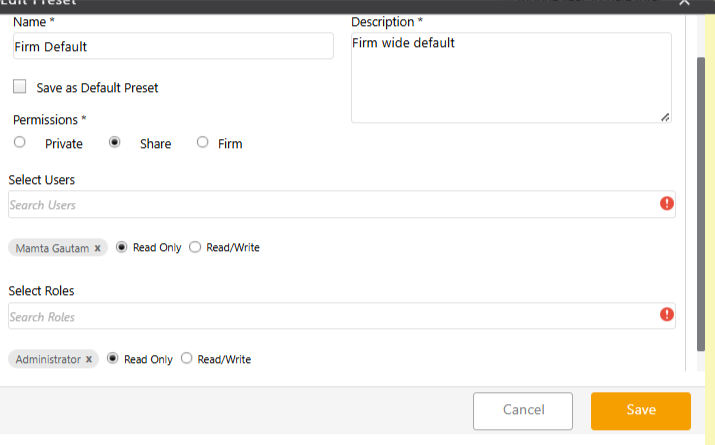
Note: If a user does not have access permission to the report, sharing the preset will not grant them permission. - Firm: This allows everyone in your firm to view your preset. (It will be the firm default, if you have checked Save as Default Preset.)
- Click Save.
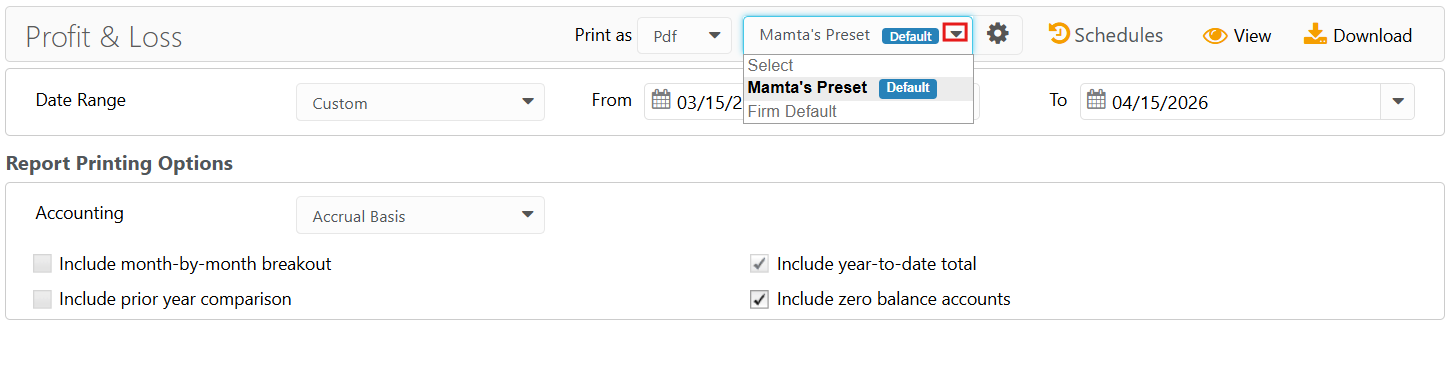
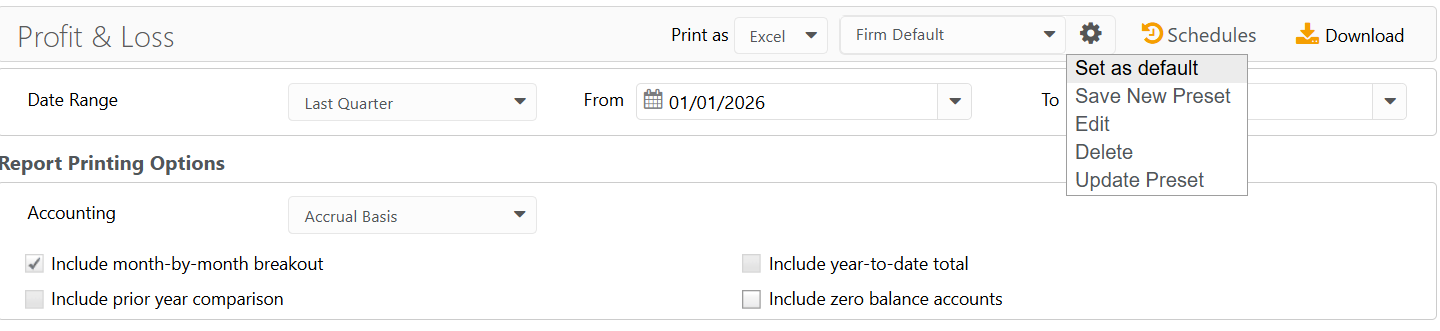
Your selection will be saved and added to the list of presets. If you had set it as default, that will display beside the preset name. - Clicking the gear icon beside the preset will give you the option to Set as Default, Save New Preset, Edit, Delete, or Update Preset.
Scheduling Reports
You can schedule a report to run automatically at a set interval, daily, weekly, or monthly and have it emailed to specified recipients in PDF or Excel Format. To schedule a report:
- Select the desired report and towards the top right of the toolbar, click Schedules.
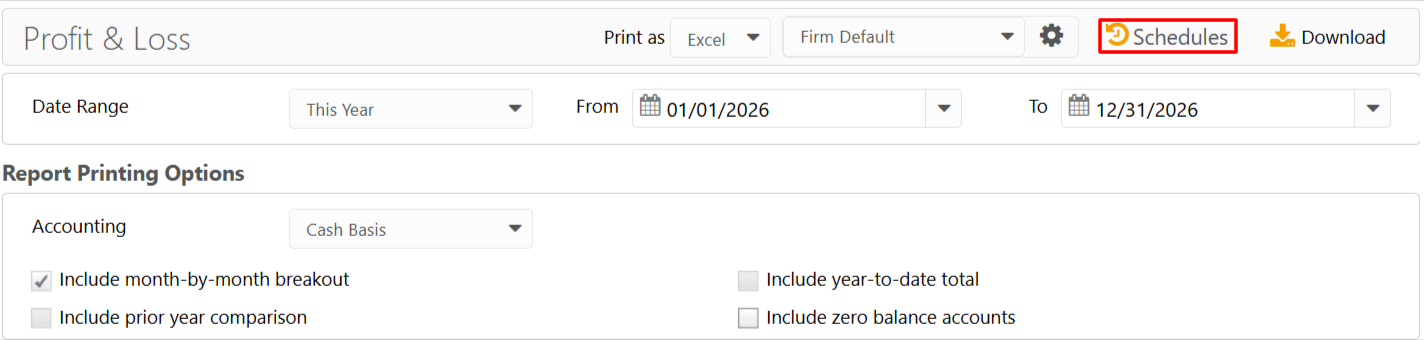
- In the window that opens:
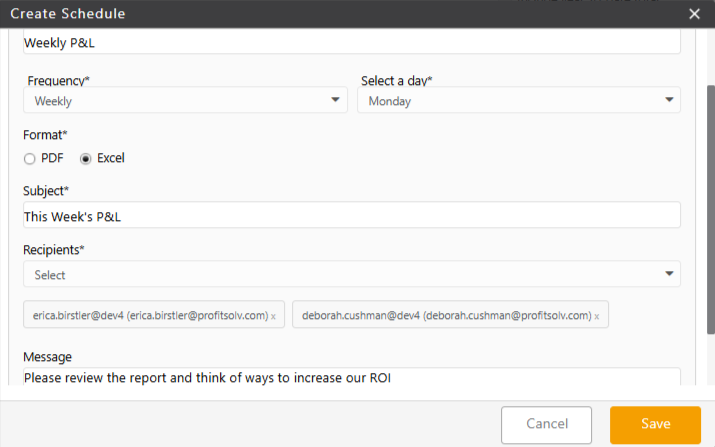
- Give the schedule a name
- Select a frequency from Daily, Weekly, and Monthly and the start Date/Day.
- Click the radio button to choose a format (Excel or PDF).
- Enter the subject of the email to the recipient.
- Select from the drop-down the firm users to whom the email should be sent.
- Write a message to the recipients.
- Click Save.
- If you wish to delete the schedule or pause it:
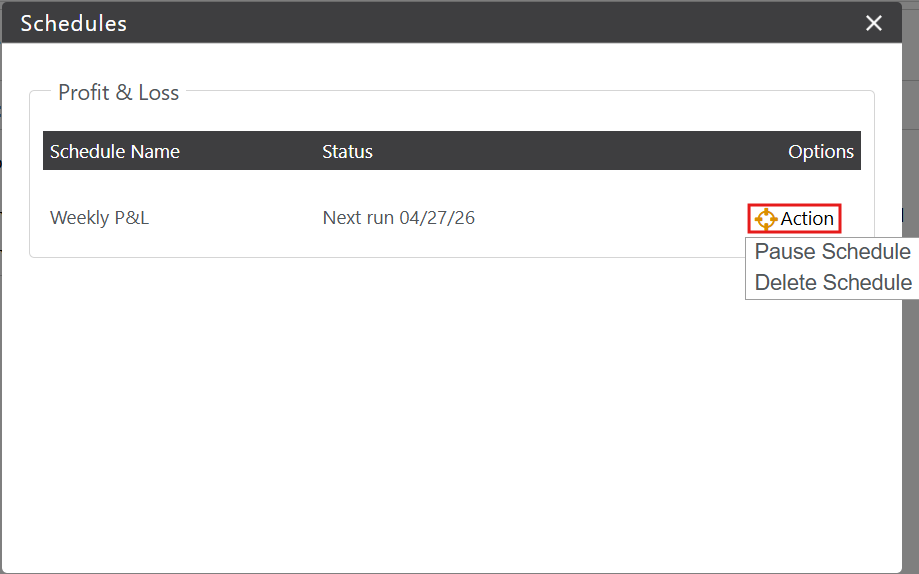
- Go back to the report, click schedules and from the drop-down, select Manage Schedules.
- On the window that opens, click Action.
- From the drop-down, choose between Pause Schedule or Delete Schedule.(Pause will keep the schedule on hold until you resume it. Delete will remove it from the list.)
- To resume the schedule you can follow the same steps above and select Resume Schedule.
Note: You will find a global Manage Schedules at the bottom of the Report List. Selecting that will display all the reports that are scheduled in the system. You can click the action button to Pause, Delete, or Resume any schedules.