The time tracking dashboard provides a swift overview of users' billable entries for the day, week, and month. Users can seamlessly add, edit, or delete billing entries and make modifications within existing entries directly from the time tracking calendar. Blank dates on the calendar indicate that no time has been recorded for the currently logged-in user or any other users, depending on selections made through filtering.
Note: The visibility of time entries for other users on a specific date is subject to the permissions of the logged-in user.
Watch a Video
Highlighted Dates on the Time Dashboard
Specific dates on the time tracking dashboard will be marked with a number in blue, indicating the number of hours captured for the selected user or other users on that particular date; depending on the filters selected.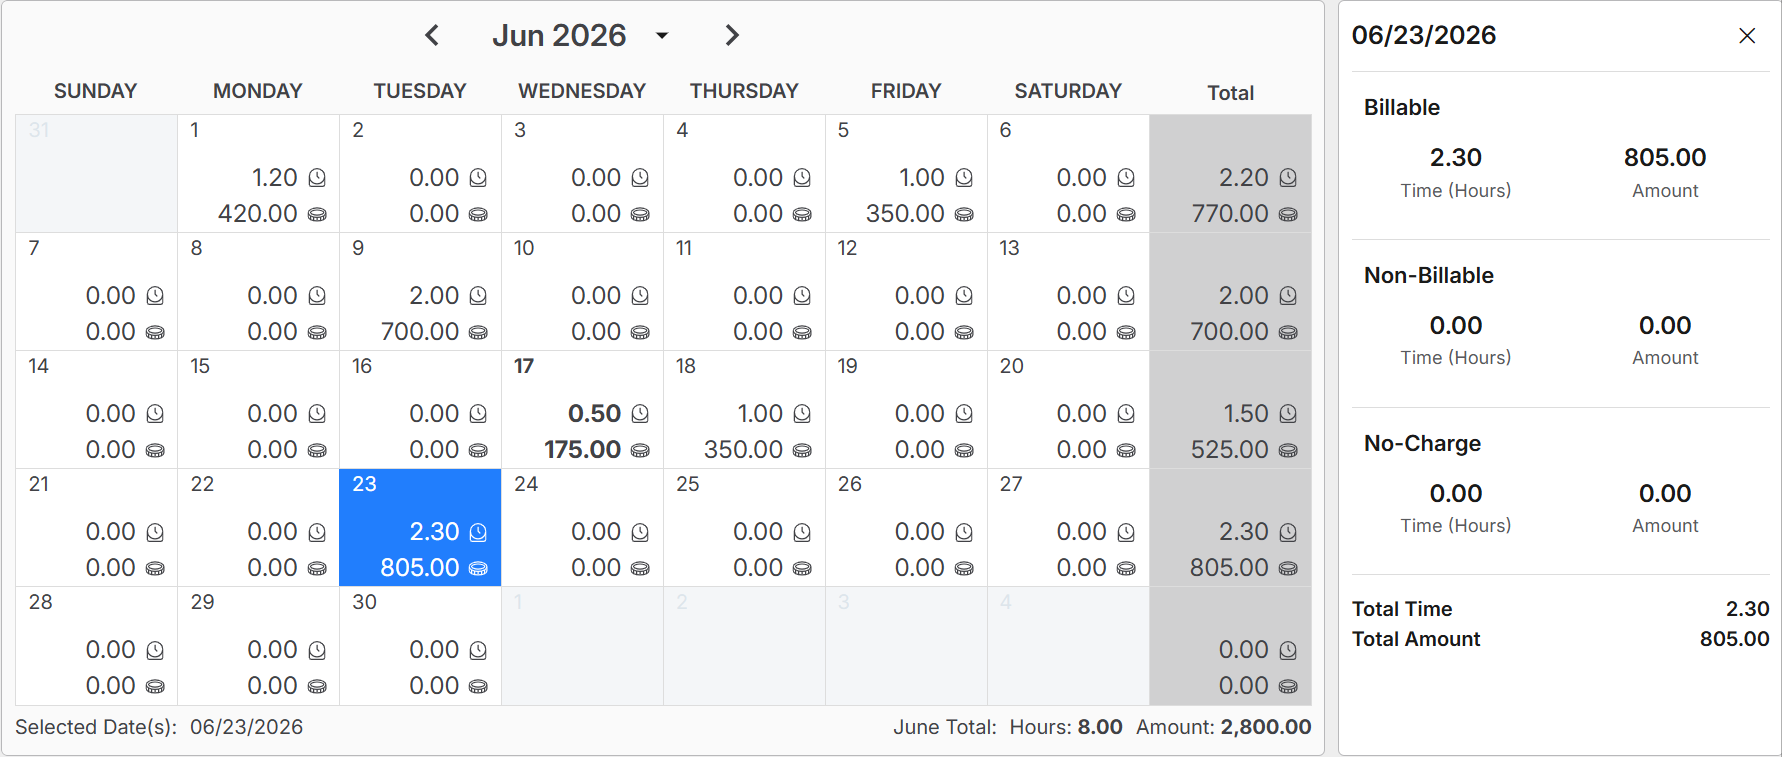
Weekly and Monthly Totals Summary:
At the end of each week, a totals table will provide a comprehensive summary of the total hours recorded for both the user and any other users included in the filters. Please note that the hours of users who have not been filtered in will be excluded from the time-tracking dashboard.
The sum for each month will be presented as Totals at the bottom.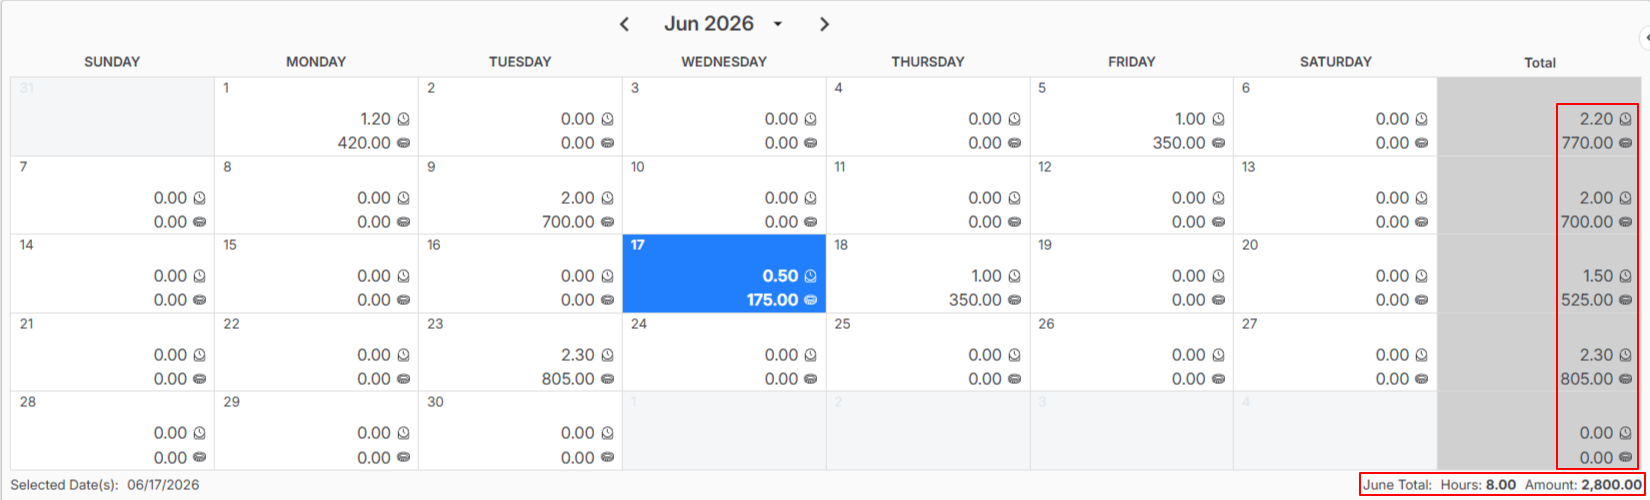
Navigating to the Time Dashboard
- On the left-hand navigation panel, click Time.
- From the Time menu, click Time Dashboard.
Edit the Filters to Personalize your Dashboard View
FILTERS:
- Select Timekeeper:
-
- Select specific or all timekeepers you'd like to view on your dashboard or toggle on to view Active Timekeepers Only.
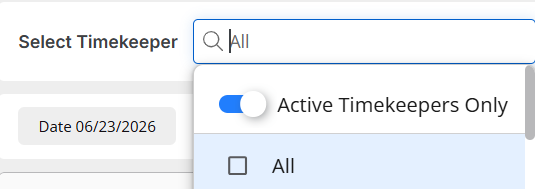
- Select specific or all timekeepers you'd like to view on your dashboard or toggle on to view Active Timekeepers Only.
2. Timecard Status:
-
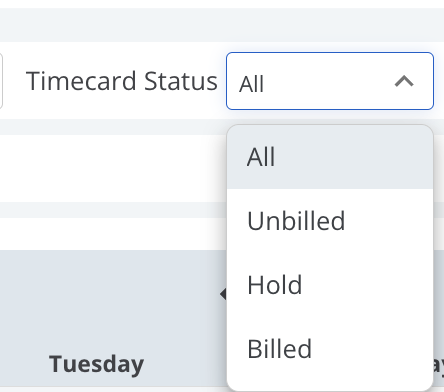
- All: View all timecards for the selected timekeepers with the following statuses; Unbilled, Hold, and Billed.
- Unbilled: View all unbilled timecards for the selected timekeepers.
- Hold: View all timecards on hold for the selected timekeepers.
- Billed: View all billed timecards for the selected timekeepers.
3. Once you've selected your filters, be sure to click 'Apply' to view the selected filters and results on your time dashboard.
Adding Time
Add billable time entries with ease by clicking on the +Add Time in the top-right corner of the Time Dashboard. The billing user defaults to the currently logged-in user.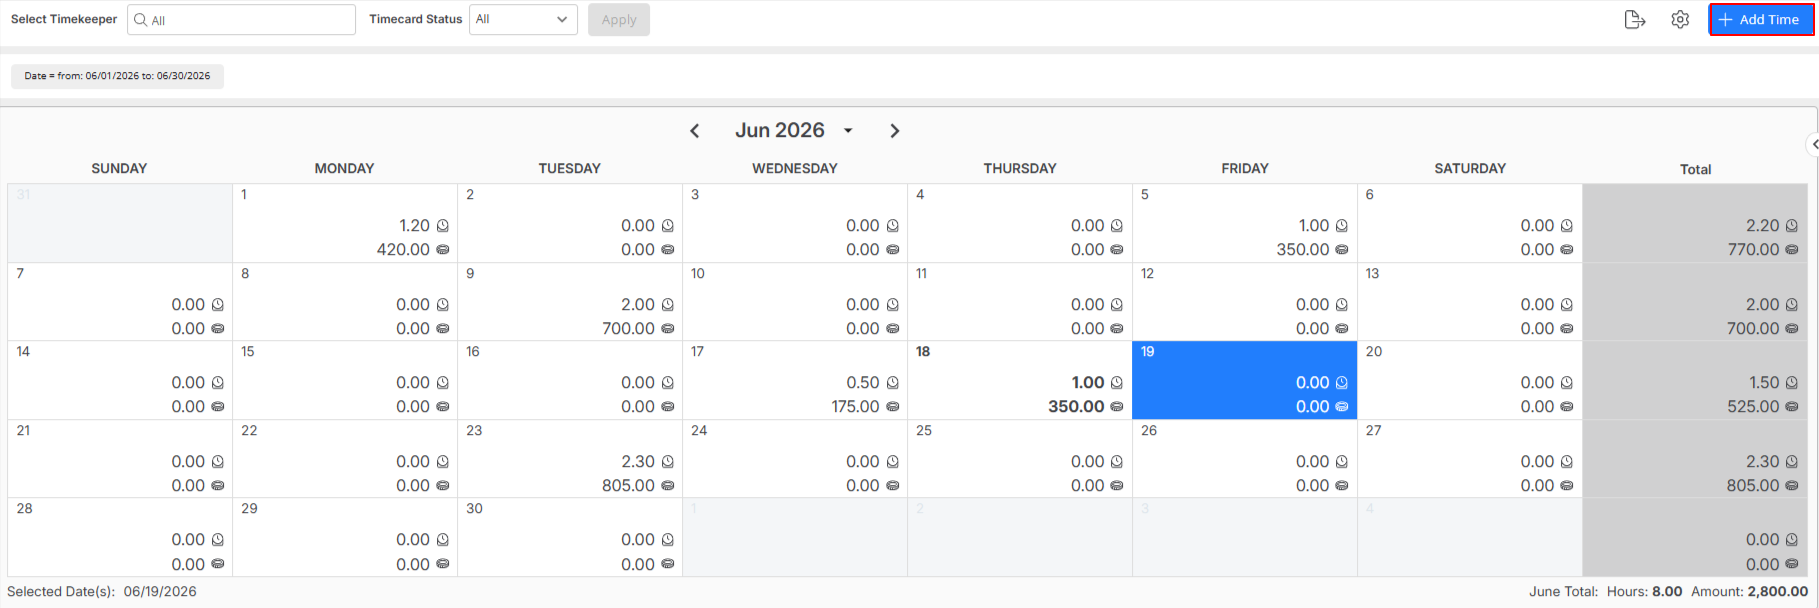
Time Grid
- To view the Time Grid, scroll down below the calendar.
- On the Time Grid, you can click on the three dots at the end of a row to view, edit, and delete the timecards, or remove them from Draft Invoice.

- From the toolbar on the grid you can:

- Export the grid by clicking on the export icon
- Refresh the grid by clicking the refresh icon
- Configure the settings of the grid, including row height, column size, and wrap text and also choose which columns to include or exclude.
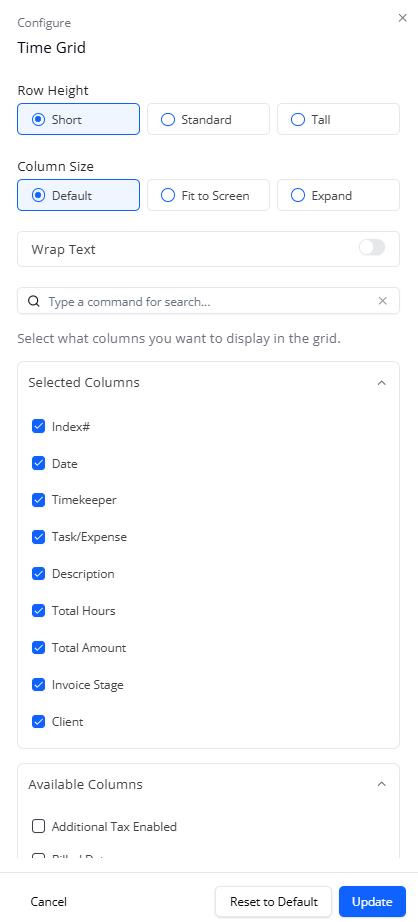
Note: Column selection, order, and visibility set through the grid’s Settings option are saved and restored across sessions.
Billable entries by day at a glance
- Effortlessly view all time entries by clicking on the day of the corresponding timecard.
- Click on the < arrow in the top right to expand and view all billable entries from the day selected.
Exporting Time Dashboard
- Click on Export in the top-right corner of the Time Dashboard.
- Choose from the available export settings.
Note: If you select Details, you have the option to export in PDF, Excel or CSV.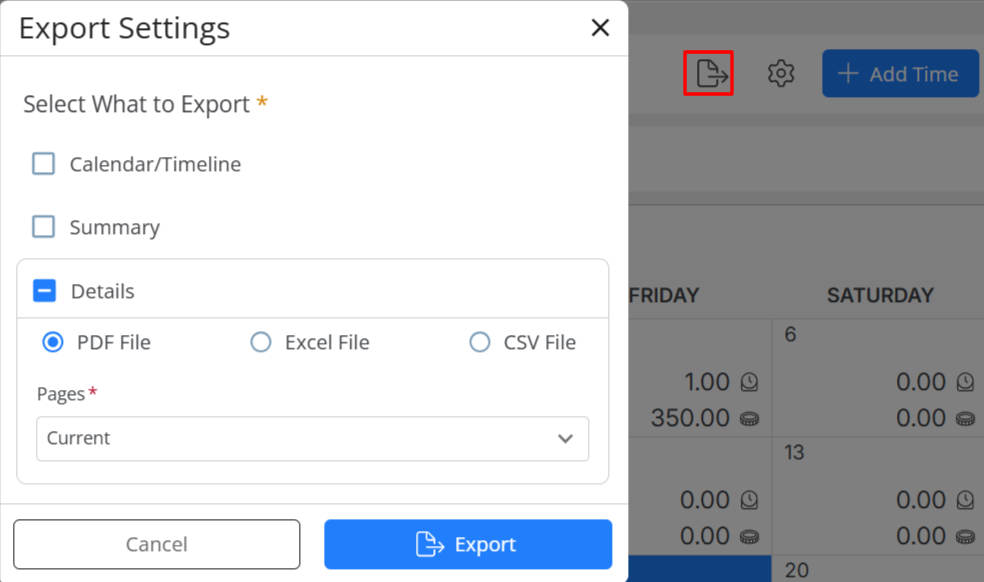
- Once you have made your selection, click Export.