You can create custom fields to help organize your matters and contacts.
Create a Custom Field
To create a custom field:
- From the toolbar, click your Profile icon.
- From the drop-down, click Setup.
- From the Setup left navigation, click Custom Fields.
- From the tabs atop Custom Fields screen, click either Matter or Contact.
- Click Fields.
- From the toolbar on the Fields screen, click Add.
- In the Add Custom Field window, single-click your desired field type. For additional information, see Custom Field Types.
- Click Next.
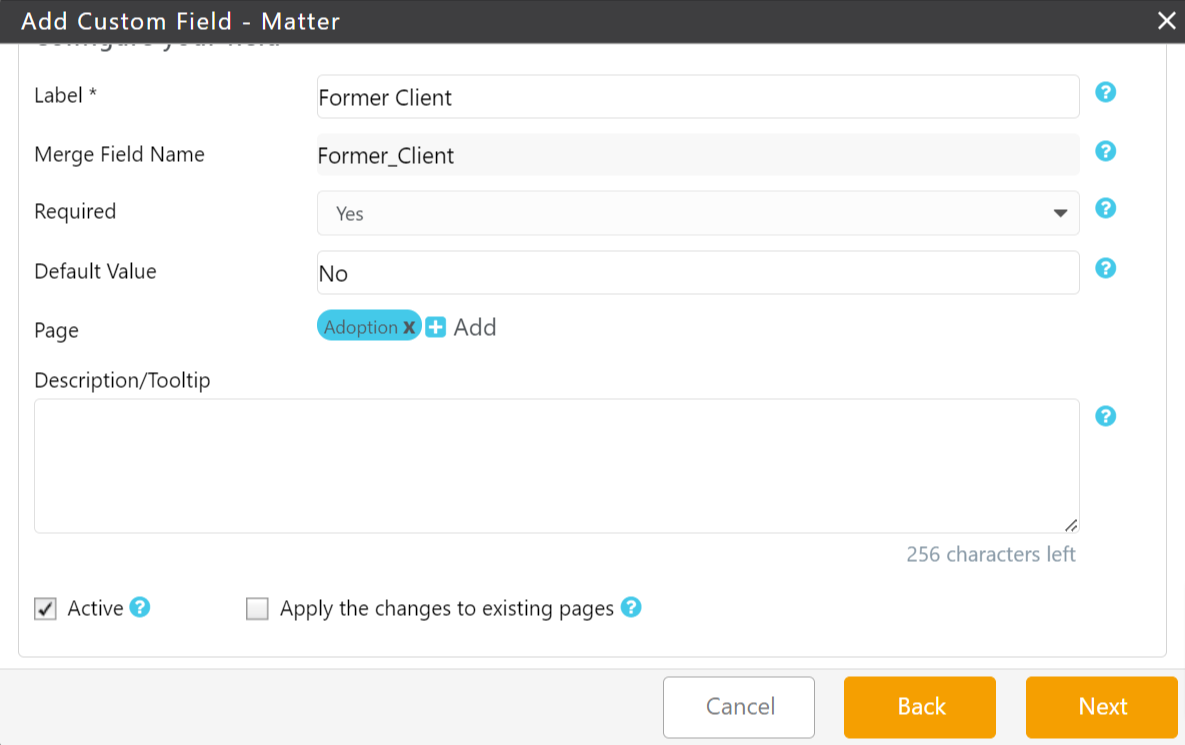
- Configure your field:
Label* - The label that displays on screen
Merge Field Name - The merge field name that displays within Word merged documents
Required - If the field requires completion, this places an asterisk beside its label.
Default Value - Enter a default value if this field must be initialized for display.
Page - Associate the field and field import data with associated pages.
Description/Tooltip - Displays as Help text for users
Active - A checked box indicates an active field available for placement on screen.
- An unchecked box indicates a field not intended for onscreen display.
Apply the changes to existing pages - By default, this box is unchecked, and applies the field to the selected page(s).
- Checking this box will add this field to all existing matters or contacts that include this page.
Active Matters Only - By default, this box is checked, when Apply the changes to existing pages option is selected.
- Unchecking this box will apply the change to all matters, active and inactive.
- Click Next.
A summary of your property entries displays for final review. if you need to edit the properties, click Back.
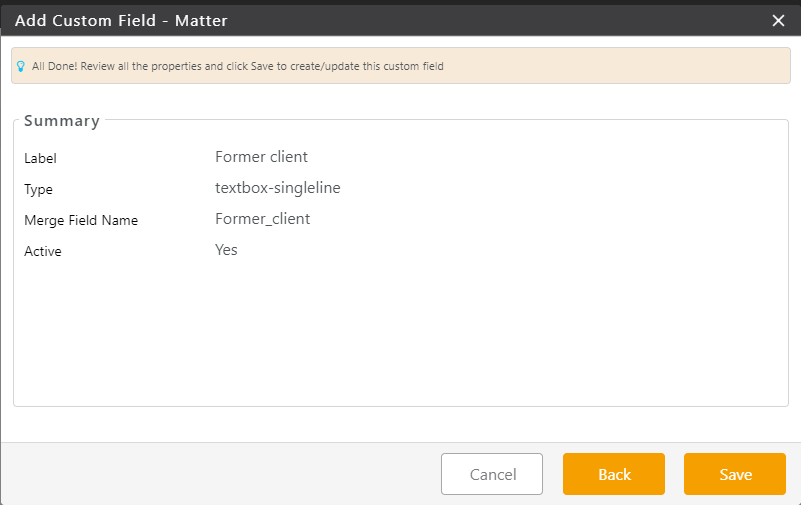
- Click Save.
Your custom field displays under the Setup > Custom Fields listing for either Matter or Contact, as applicable.
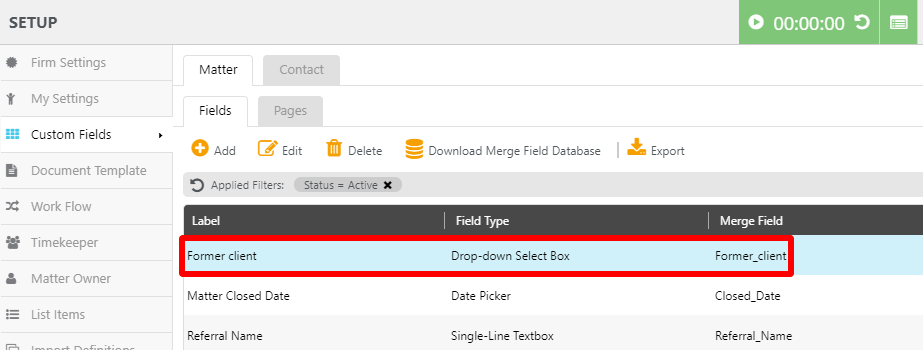
You can export your custom field in Excel, PDF or CSV formats. Learn how to Export Your Data.