You can add an operating bank transaction within your application.
Watch a Video
To add an operating bank transaction:
- From the left navigation panel, click Banking.
- On the Bank screen, double-click the bank to scroll down to its details.
- From the tabs atop the Bank's details section, click Transaction.
- From the toolbar atop the Transaction screen, click Add > Deposit or Add > Withdrawal as applicable.
Add Transaction Screen Fields
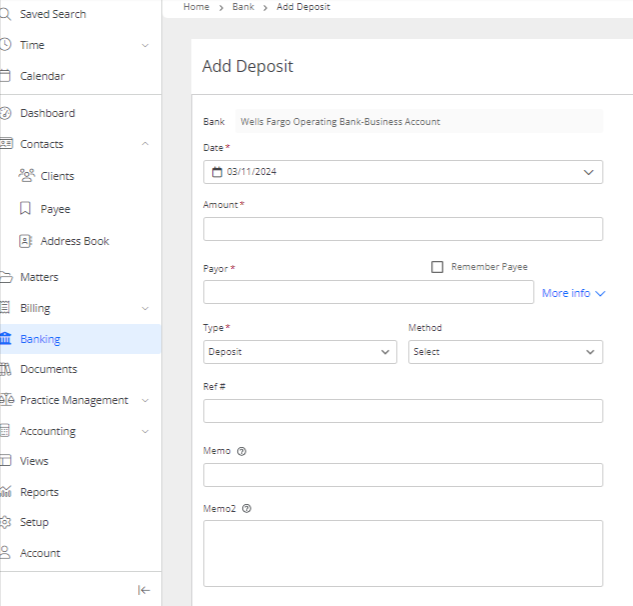
|
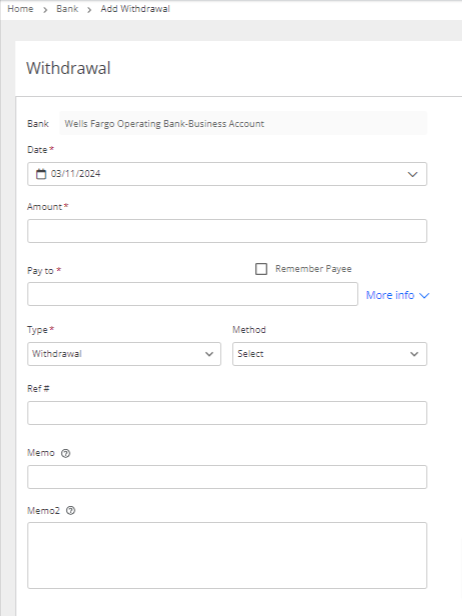
|
| Bank |
|
| Date |
|
| Amount |
|
| Calc box* | (*Only for states/provinces where tax is to be calculated.) Take the appropriate action:
|
| Pay To |
|
| Address |
|
| Type |
|
| Method |
|
| Check#* | (*Will only display if you select Check as the payment method) Take the appropriate action:
|
| Memo |
|
| Memo2 |
|
| Include matter expense |
|
Accounts Section
In this section you can split the transaction between different accounts.

- One line item with the total amount will be created, you can add the GL account to which you want to assign this transaction by clicking on the drop-down beside it.
- To add more line items, from the toolbar above the section, click Add.
- If you wish to remove a line item, you can select the item to remove and click Actions > Delete.
- You can also add a description, and assign a class, or split the amount across multiple classes. Note:When splitting the transaction amount, ensure the remaining amount is $0.00.
Save Options
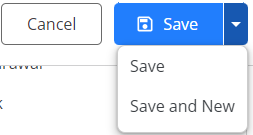
| Cancel |
|
|---|---|
| Save |
|
| Save and New |
|